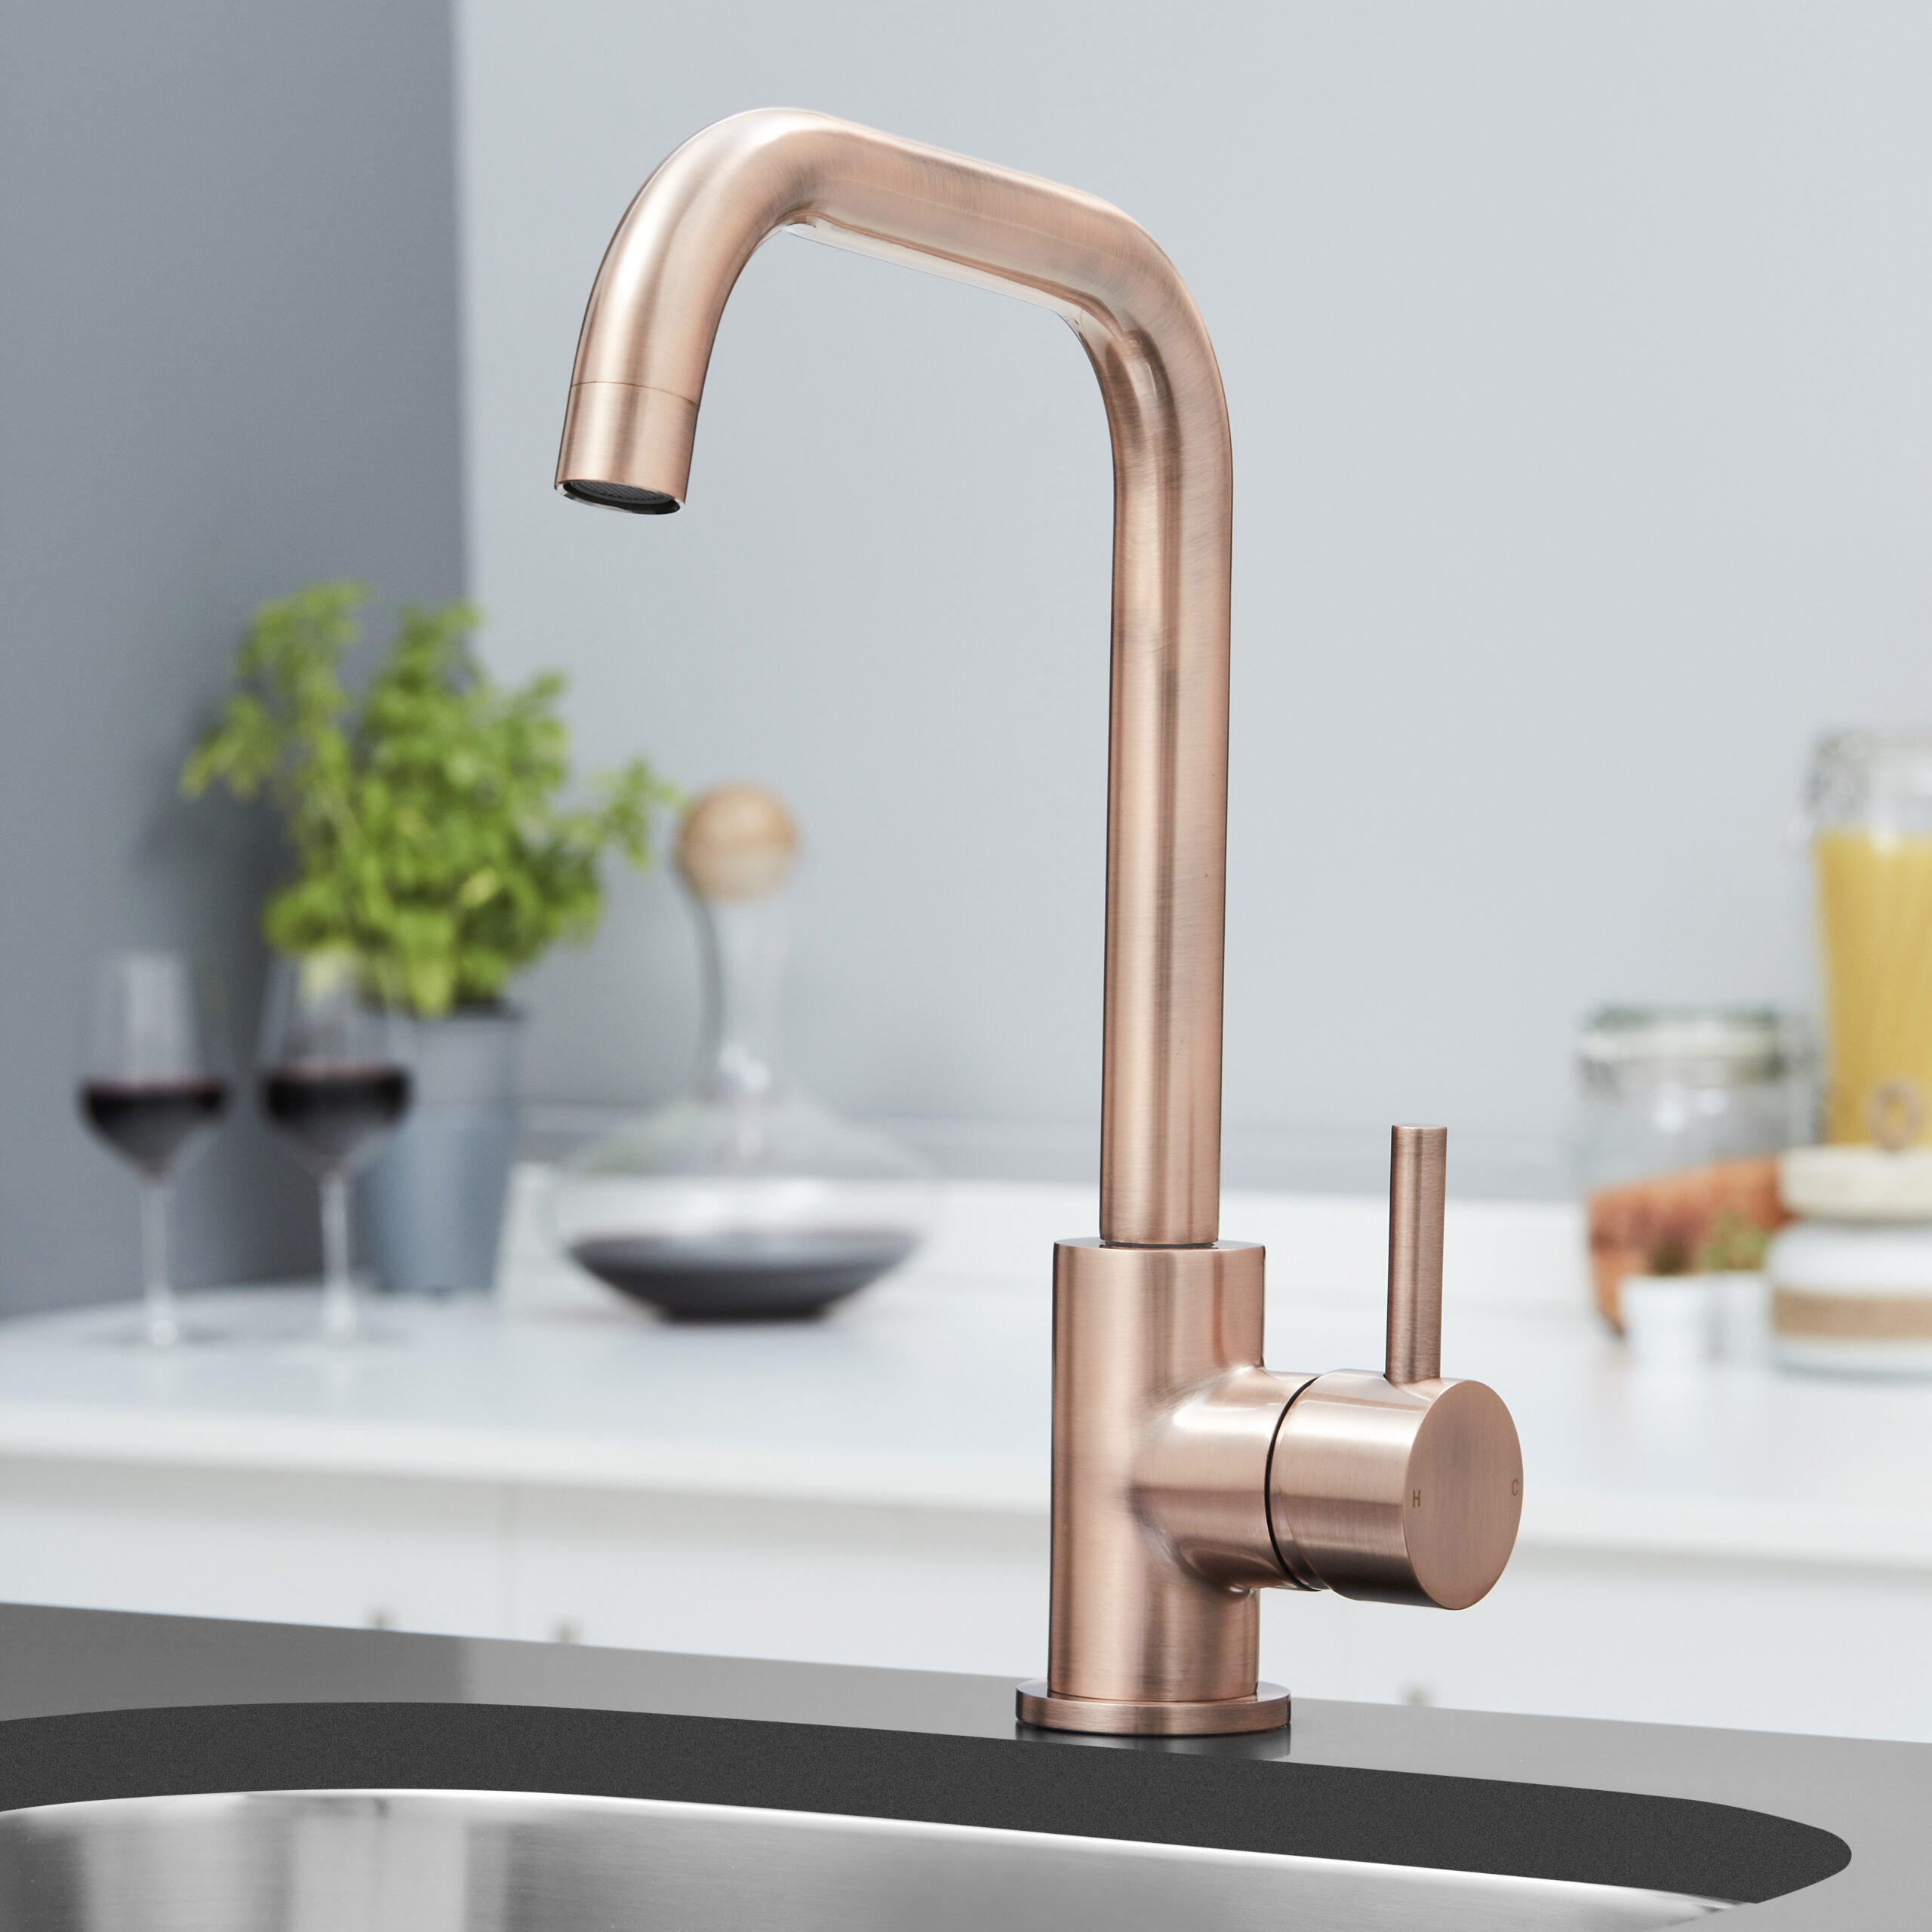
Copper taps are more than just a practical choice, they’re the centrepiece of any modern or traditional kitchen that prides itself on warmth and unforgettable elegance. But even the most beautiful copper taps can appear flat or uninspiring if your kitchen lighting isn’t carefully considered. If you’ve invested in copper, brushed copper, or striking black and copper kitchen tap features, using the right lighting tones, fixture finishes, and placements is the make-or-break factor that takes your space from “nice” to “spectacular.”
If you’ve ever admired designer kitchens online, only to stand in your own home and wonder why your copper tap doesn’t glow, you’re not alone. With so many lighting options available, the challenge isn’t just brightening the space—it’s setting up every copper detail to steal the show. This post is for anyone considering or already owning a copper kitchen tap and wants to unlock their full design potential.
Why Copper Taps Get Lost—And Why Lighting Is Everything
Copper taps have a magnetic, classic appeal that “reinvent the way your sink looks,” creating a focal point unmatched by basic chrome or steel. But here’s where many kitchens miss the mark: generic white LEDs and brushed steel spotlights can completely drown out copper’s warmth, or worse, cast it in a dull, orange haze. The wrong lighting washes out the subtle depth and luxury that make copper so on-trend, leaving you with a tap that looks ordinary, not extraordinary.
The Smarter Approach: Light Copper as You’d Light Art
The solution? Treat your copper taps (and matching hardware) with the same care you would a statement lighting fixture or priceless painting. This means curating lighting that’s intentionally warm, thoughtfully positioned, and paired with finishes that reflect, not compete, with your copper accents.
Many kitchens rely on bright overhead LEDs alone, which can create a cold, washed-out feel. Instead, the best kitchen lighting for brushed copper taps blends layered illumination, low-glare warmth, and metallics that echo copper’s own character.
Your Step-by-Step Guide to Lighting Copper Fixtures
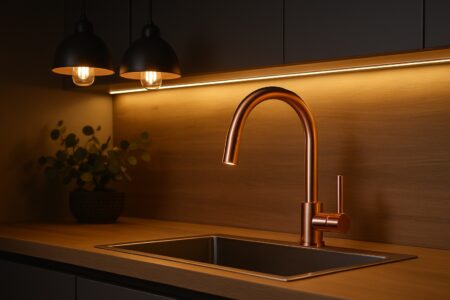
1. Choose Warm, Soft White Light (2700-3000K)
Skip clinical “daylight” bulbs. Instead, fit your overhead and task lighting with warm white bulbs (2700-3000 Kelvin). This tone accentuates the rich glow of brushed copper kitchen taps, making the metal appear inviting and expensive. For example, glass pendants over the sink fitted with these bulbs turn even a simple copper tap into a glowing focal point.
2. Mix Metallic Finishes (But Match the Undertone)
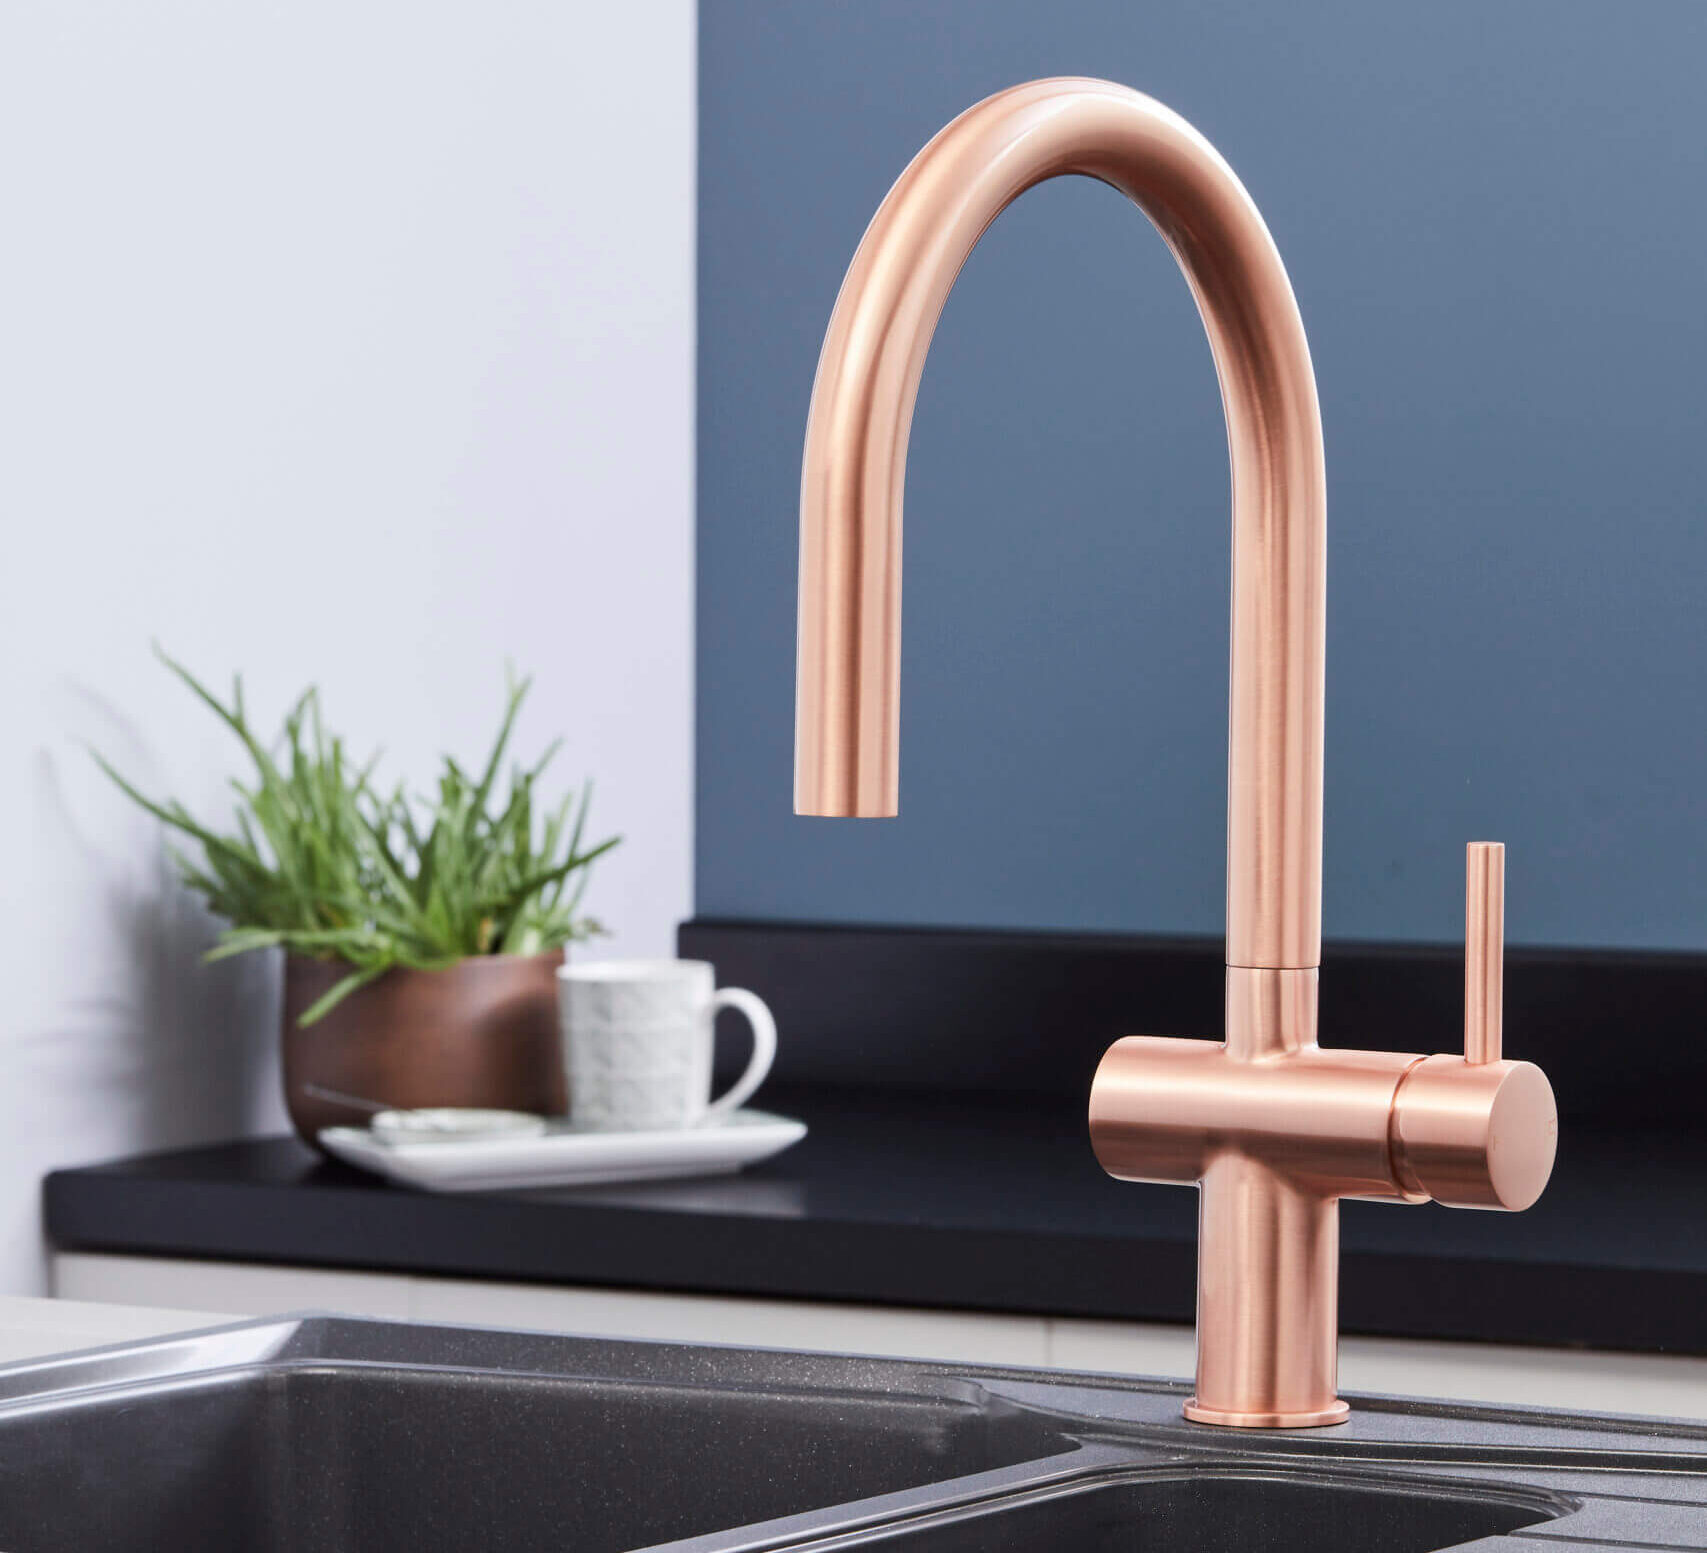
Lighting hardware should always work with—not against—your copper. Pair copper taps with light fixtures in similar warm finishes: think brushed gold, antique brass, or even muted matte black with minimal shine. Mixing a little, like black and copper kitchen tap plus black pendant lights with copper trim, creates visual harmony and sophistication without overpowering the tap.
3. Place Accent Lights Strategically
Under-cabinet strips or directional mini-spotlights pointed at your copper tap can create a dramatic “halo” effect—making your sink the centre of attention, even at night. Tilt these so they wash across the tap rather than blasting down from overhead; this softer approach highlights copper’s depth and signature patina. See our guide to the hidden benefits of copper finishes for more inspiration.
4. Use Dimmers for Total Control
Daylight and natural copper both shift as the sun sets. Adding dimmers lets you adapt the mood—crisp and functional during prep, warm and atmospheric for evening gatherings. Dimming your kitchen lights just slightly will enhance the copper’s subtle sheen and bring out rich, reflected undertones.
5. Avoid Blue and Cool-Tone LEDs
It might sound obvious, but cool/blue LED strips and bulbs will flatten and discolor copper. Save these for hidden utility spaces, not anywhere your copper taps may catch the light. In the kitchen, always opt for bulbs that specifically say “warm” or “soft white.”
“But My Kitchen Already Feels Bright—Won’t Copper Just Blend In?”
A common hesitation is that layering warmer lighting will make the kitchen feel dark or outdated. In practice, the opposite is true—today’s high-quality warm LEDs provide powerful illumination with none of the yellowy cast of old incandescent bulbs. In fact, combining a warm base light with accent fixtures gives you more flexibility and a richer, more contemporary look, especially if you complement your copper taps with matching handles or pendant details.
Another worry: “If I don’t have copper everywhere—just on my tap—will it look awkward?” No, as long as you repeat a warm metallic at least once more in your lighting details, art frames, or small hardware, your tap will look intentional rather than isolated.
Finishing Touches: Elevate Your Copper Game
- Always prioritise quality warm LEDs and layer your lighting for maximum flexibility.
- Select fixture finishes that echo copper’s warmth—brushed gold, antique brass, or matte black with copper details are safe bets.
- Direct accent lighting at your tap to make it a centrepiece, not an afterthought.
- Stay away from blue-toned bulbs—these fight with copper’s natural beauty.
If you want every visitor to walk in and notice your copper tap first, lighting isn’t a finishing touch—it’s the secret sauce. Switch those bulbs, experiment with warm, layered sources, and watch your kitchen’s luxury factor leap overnight. Your copper features deserve—and reward—this kind of attention. To find the copper kitchen tap perfect for your space, explore our range, or get in touch with our expert team for more guidance.
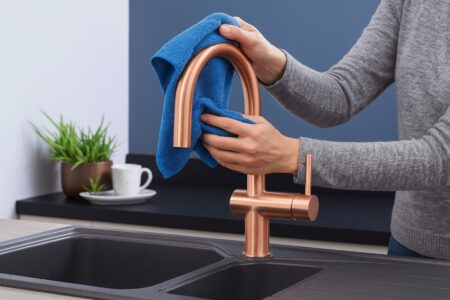
Have you ever spent hours wiping fingerprints and water spots from your kitchen tap—only to have it look streaky and tired days later? If you’re trying to balance style with practicality in your kitchen, the finish on your tap makes a bigger difference than most people realise. For busy households and design-focused renovators alike, choosing a brushed copper tap isn’t just a design preference—it’s a strategic upgrade. Here’s why brushed copper taps are the smart, stylish choice for anyone investing in their kitchen’s long-term appeal.
The Real Problem with Ordinary Tap Finishes
A stunning kitchen can collapse under constant smudges, fingerprints, or just looking ‘generic’—and typical finishes are often to blame. Chrome and other polished options show every mark from a child’s sticky hands or a splash of tea. Meanwhile, inexpensive alternatives can undermine the entire look you’ve built, feeling at odds with your modern cabinetry or contemporary tile. It’s no wonder so many homeowners feel their taps never look quite as good as the rest of the kitchen.
The opportunity is clear: Copper taps bring a timeless, warm, and distinguished element to kitchen design, offering a choice that complements various kitchen aesthetics and styles, from traditional to modern, and with a simple cleaning routine, can maintain that distinct look over years of use.
Why Brushed Copper Taps Offer a Smarter Solution
Unlike high-shine or mass-market finishes, brushed copper taps strike an ideal balance: they’re visually striking without upstaging your space, and forgiving enough to stay looking flawless through daily wear. Instead of reflecting every stray fingerprint or water spot, the subtle texture and muted sheen of brushed copper effortlessly mask imperfections. The finish transforms the ordinary into statement-making, giving your kitchen immediate warmth and character that feels bespoke—not showy. Go even further with your kitchen curation, and consider the lighting which best displays your copper fixtures.

How to Make the Most of Brushed Copper in Your Kitchen
1. Elevate Your Design Instantly
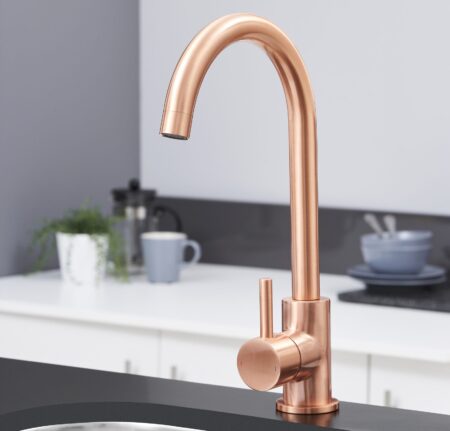
Start with your statement piece: the tap. A brushed copper kitchen tap draws the eye, integrating seamlessly with both cutting-edge and classic cabinetry. The soft matte finish delivers instant warmth—no more cold, clinical shine—while feeling sophisticated and current.
2. Enjoy Everyday Practicality
Thanks to its brushed texture, your copper tap is distinctly more fingerprint-resistant than polished options. For high-traffic kitchens or homes with little helpers, this means less time polishing and more time enjoying every meal. No streaks. No endless wiping.
3. Seamless Modern Integration
Worried about matching finishes? Brushed copper complements everything from marble worktops to minimalist shelving. Its neutral warmth pairs beautifully with modern neutrals, bold accent colours, or the classic whites and blues so on-trend today.
4. Versatile Options—Especially in Pull-Out Mixers
Love flexibility at the sink? Opt for a brushed copper tap in a pull-out mixer design. Not only do you get the head-turning finish, but also the convenience of a pull-out sprayer for easy rinsing, filling, and cleaning—without sacrificing cohesive style.
Objections, Answered: Why Brushed Copper Outperforms Doubts
“Will a brushed copper tap clash with my kitchen style?”
Absolutely not. The understated, elegant look of a brushed copper tap means it enhances everything from shaker kitchens to ultra-modern flats. Its subtle lustre adapts, elevates, and harmonises rather than fighting for attention.
“Aren’t copper finishes hard to keep clean?”
It’s the opposite with brushed copper. Unlike high-gloss finishes, the brushed surface diffuses fingerprints, smudges, and water marks. Regular use won’t wreck the look—you’ll spend less effort on upkeep and more time enjoying your kitchen.
Take Action: Transform Your Kitchen Today
- Choose a brushed copper tap for instant, lasting visual impact without the fuss, see the full brushed copper tap collection for options.
- Prioritise practicality and style, never settle for a tap that only looks good for a day.
- Give your kitchen a timeless upgrade, the brushed copper finish stays relevant and inviting, year after year.
Forget the headache of chasing shine or hiding water marks. With a brushed copper kitchen tap, you invest in a finish that’s as practical as it is beautiful, one that elevates your entire space while making everyday life just a little easier. Discover how the right copper kitchen mixer tap brings together elegant design and real-world durability with no compromise required, or contact our expert team for more information.
If you invested in a brushed copper tap to elevate your kitchen, you know how its warm, distinctive finish can instantly give your space a sophisticated edge. But here’s the catch: nothing ruins that signature look faster than water spots, streaks, or—worse—accidental scratches from a cleaning shortcut. For anyone who’s admired their tap one week, only to see it dulled by the next, this guide is your answer to lasting brilliance.
The All-Too-Common Mistake: Why Brushed Copper Taps Lose Their Shine
Brushed copper taps aren’t like standard chrome hardware. Their beautiful finish owes its distinctive, slightly matte look to a delicate surface treatment—not raw metal—making them more vulnerable to harsh chemicals or abrasive pads. Kitchens see a constant swirl of water, soap, splashes, and fingerprints. Too many owners reach for aggressive sprays or scouring cloths, believing more muscle means more shine. The result? Micro-scratches, loss of colour, and a tap that ages before its time.
It’s surprisingly easy to undo months of careful craftsmanship in a few careless seconds. Finishes like copper are celebrated for classic appeal and their ability to reinvent the way your kitchen looks, but only if they’re properly cared for.
The Smarter Way: Gentle Cleaning, Smart Prevention, Lasting Style
Rather than stripping the finish trying to achieve a showroom gleam, a strategic routine preserves the brushed look and keeps maintenance minimal. The right approach uses non-abrasive tools, common gentle cleaners, and a few easy habits to prevent damage in the first place. Unlike the old-school methods that work for stainless steel or plastic, caring for a brushed copper tap means understanding its surface and protecting its unique beauty—no polish, no heavy chemicals, no buffing required.
Here’s the routine every brushed copper tap owner needs:
Wipe Down Daily With Microfibre
The simplest way to clean brushed copper taps? A dry, soft microfibre cloth. After each use (or at least daily), wipe away water droplets, fingerprints, and splashes. This stops mineral build-up and keeps the finish streak-free—no cleaners necessary for day-to-day shine.
Use pH-Neutral Soap for Weekly Cleans
Once a week, dampen your cloth with warm water and a drop of mild, pH-neutral dish soap. Gently wipe the tap, focusing on areas around the spout and handles where grime accumulates. Rinse by wiping again with a cloth dampened with plain water, then dry thoroughly. Avoid any citrus, vinegar, or ammonia-based products—they can erode the protective layer.
Never Use Abrasive Pads or Powders
Forget steel wool, scrubbing sponges, or powdered cleansers. Brushed copper finishes are easily scratched, and abrasives will dull or even remove the top layer. Stick to microfibre cloths or new, soft cotton towels.
Address Stubborn Stains—Don’t Panic
For any marks that remain, like splashback smudges or light limescale, soak a soft cloth in a solution of warm water and a little pH-neutral soap. Lay it gently over the spot to loosen the residue, then wipe clean. Never scrape at the mark; patience preserves the finish.
Dry Everything Immediately
Copper surfaces are prone to water spotting. That’s why the final—and arguably most important—step is thorough drying with a clean cloth. Neglecting this step is a main reason even the best copper kitchen mixer tap starts looking tired.
Prevent Problems With Habit
Encourage everyone in the household to wipe down the tap after use. If you live in a hard water area, consider installing a water softener or using distilled water for cleaning—mineral deposits are enemy number one for copper finishes.
Inspect Regularly, Act Swiftly
Every couple of weeks, check your tap for changes in colour or finish. If you catch water spots or residue early, they’re much easier to fix than neglected stains. Quick action preserves the tap’s character and stops problems before they set in.
Objections Answered: “Do I Really Need Special Care?” and “Can’t I Polish It Like Regular Copper?”
You might wonder why brushed copper taps need a different approach from a polished copper bowl or a rugged stainless steel sink. The answer: that signature brushed texture depends on the integrity of the finish. Over-cleaning, polishing, or using aggressive substances can erase the unique look you chose copper for in the first place.
It’s also tempting to reach for common copper polishes or DIY lemon-vinegar solutions, but these are made for raw copper—not copper with a protective coating. Brushed copper taps, especially those with high-quality treatments like those from our collection, require only gentle cleaning to maintain their lustre.
Takeaways for Brushed Copper Tap Owners
- Stick to soft cloths, gentle soap, and water—never abrasive products—when you clean your brushed copper tap.
- Develop a habit of quick daily wipe-downs and immediate drying to dodge water spots and stains.
- Treat your brushed copper tap like a design centrepiece: regular, gentle care means long-lasting beauty.
A brushed copper tap isn’t just another kitchen fixture—it’s a statement piece. With just a few minutes of mindful care (and the right habits), you’ll keep your copper sink tap looking as distinctive and elegant as the day you installed it. Check out our guide to lighting your kitchen to match your copper fixtures.
Ready to pick the perfect tap for your kitchen? Explore our full collection of copper taps, or contact our expert team for more information.
Your kitchen tap may seem like a small detail, but its finish can significantly impact the overall look and feel of your space. Whether you’re aiming for a sleek, modern design or a more traditional style, choosing the right tap finish helps create a cohesive look that ties together your worktops, cabinetry, and fixtures.
With so many finishes available—ranging from polished chrome to matte black—it can be challenging to decide on the best one. This guide will walk you through different tap finishes, their benefits, and how to select the perfect one for your kitchen.
1. Understanding Various Tap Finishes
Tap finishes come in a variety of options, each with its own unique characteristics. Here are some of the most popular choices:
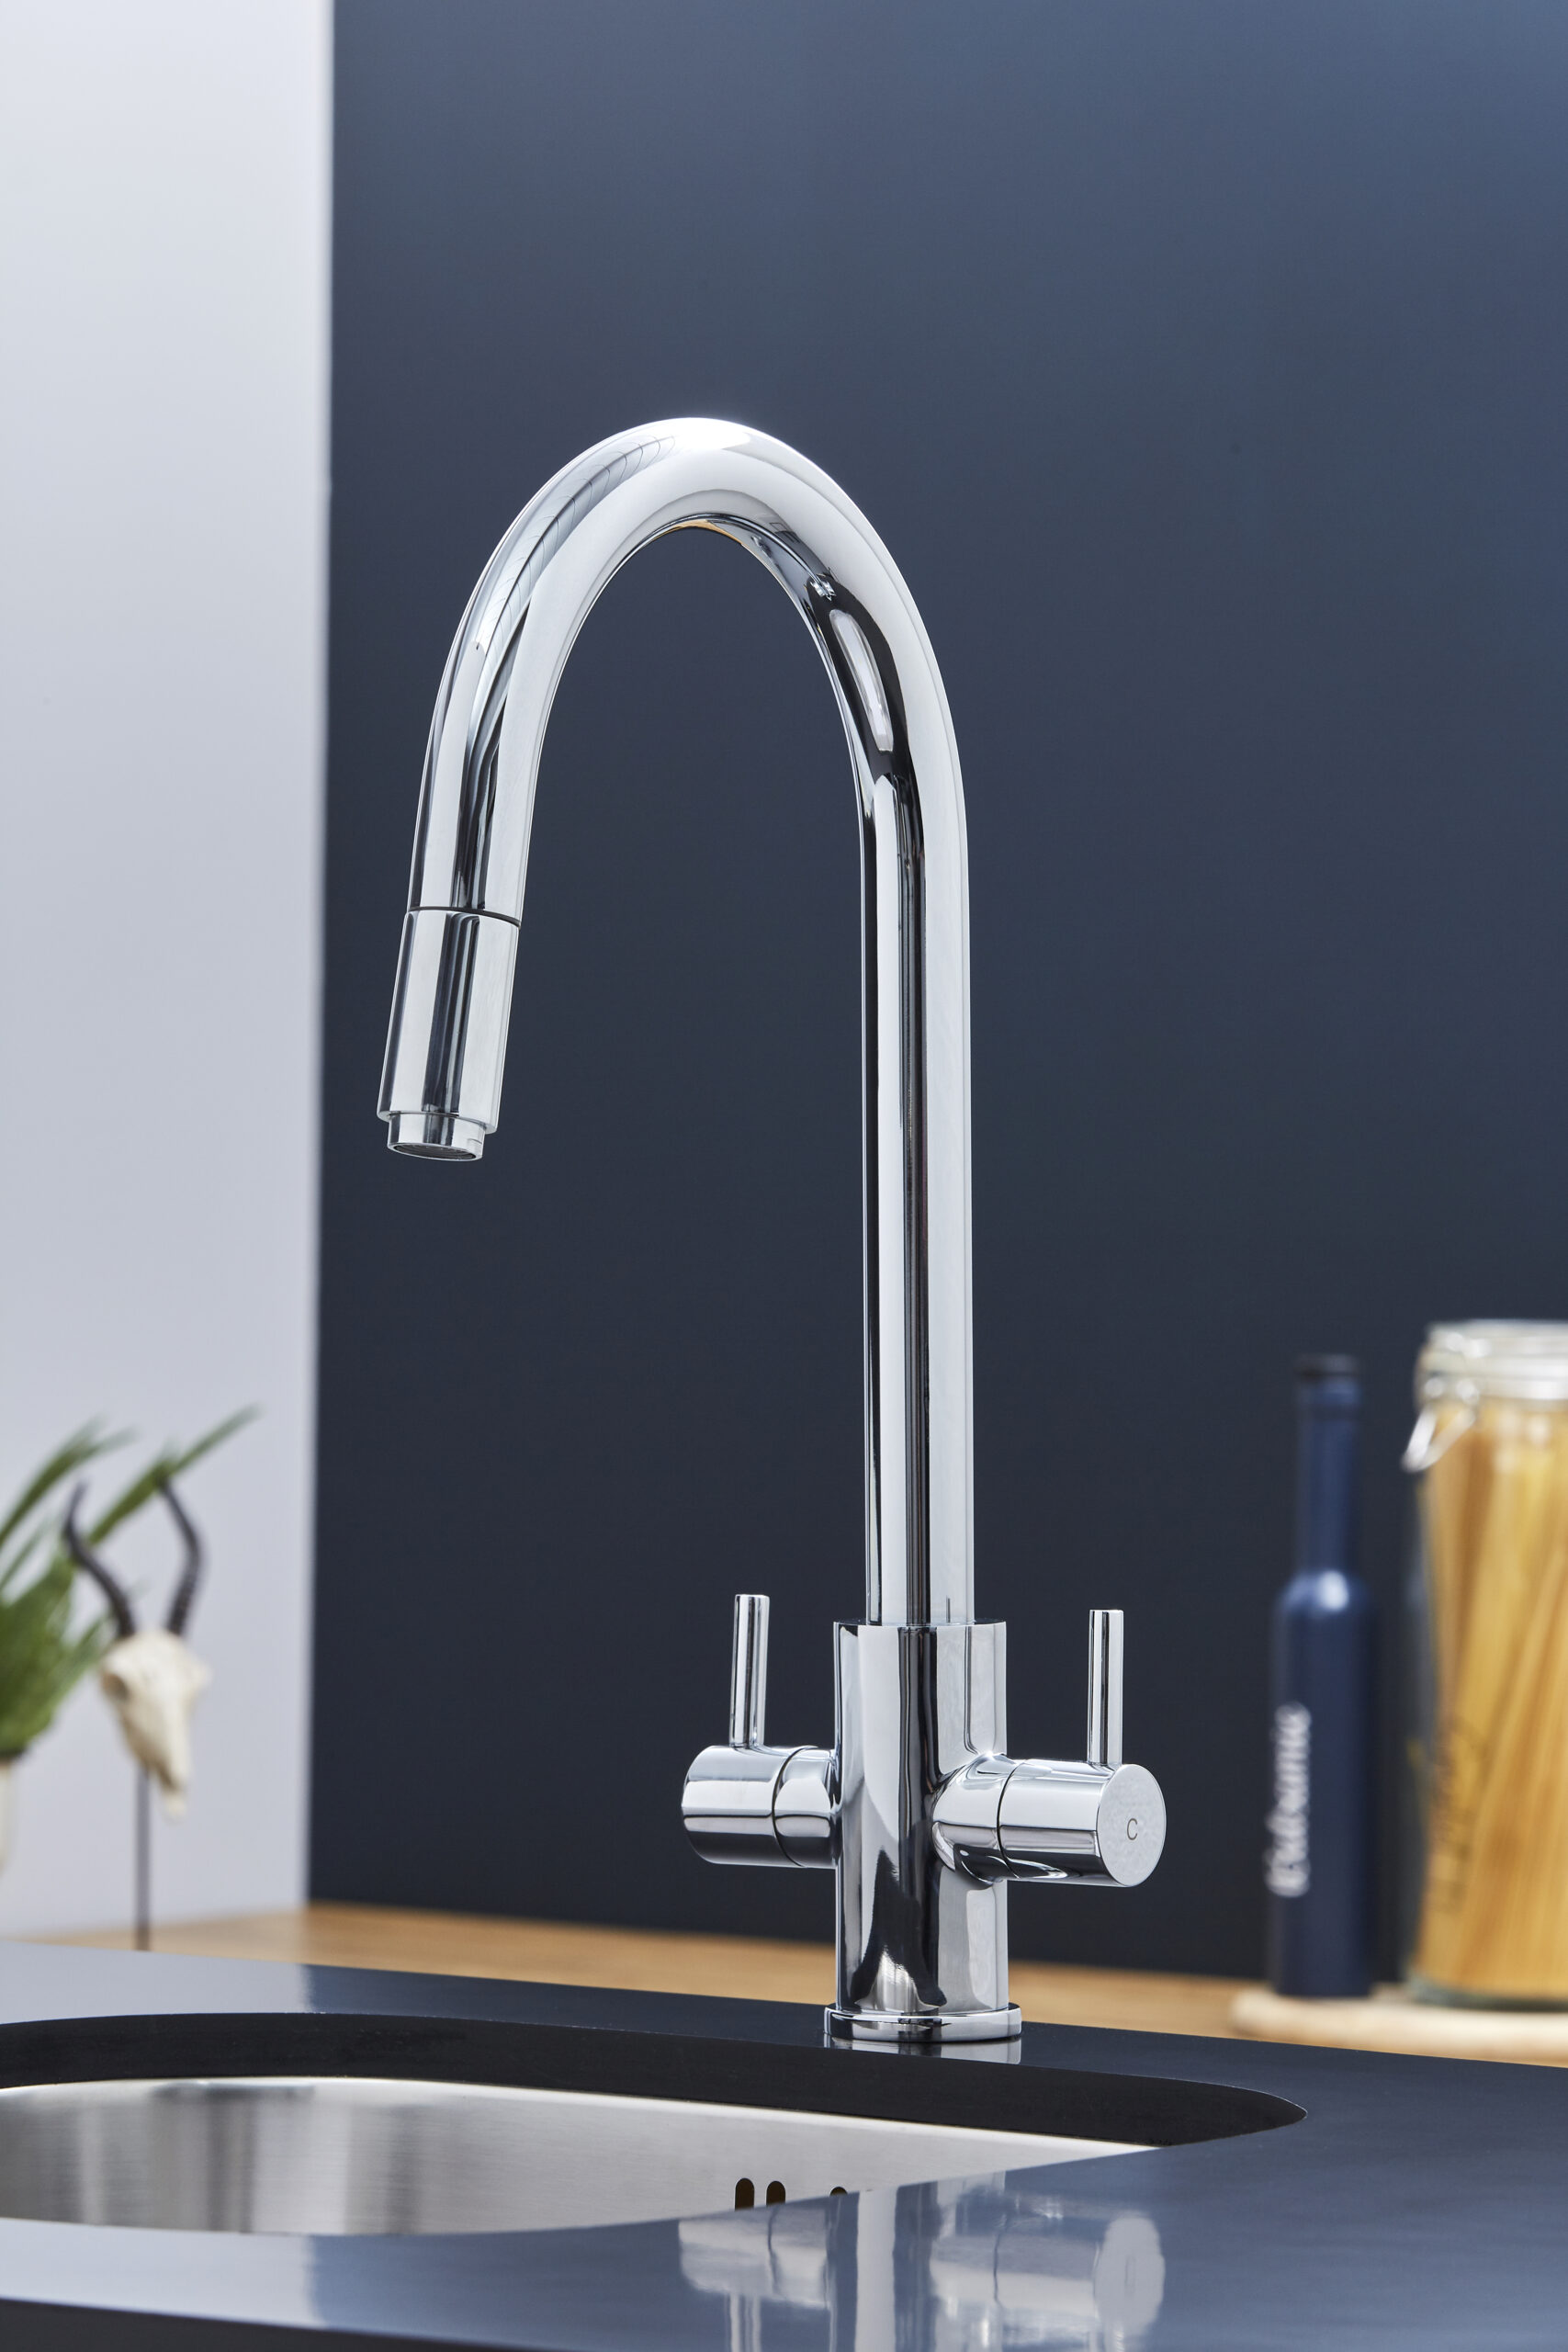
Polished Chrome
A timeless classic, polished chrome is one of the most widely used tap finishes. Its high-shine surface reflects light, adding brightness to your kitchen. Chrome taps are easy to clean and resistant to rust, but they do tend to show fingerprints and water spots more readily than other finishes. If you love a modern, sleek look, chrome is a great choice—just be prepared to give it a regular polish!
Brushed Nickel
Brushed nickel has a soft, muted sheen with a subtle texture, making it an excellent choice for kitchens with warm, neutral tones. It pairs well with wood and stone surfaces and is resistant to water spots and fingerprints, making maintenance easier. Many interior designers recommend brushed nickel for its sophisticated yet understated look.
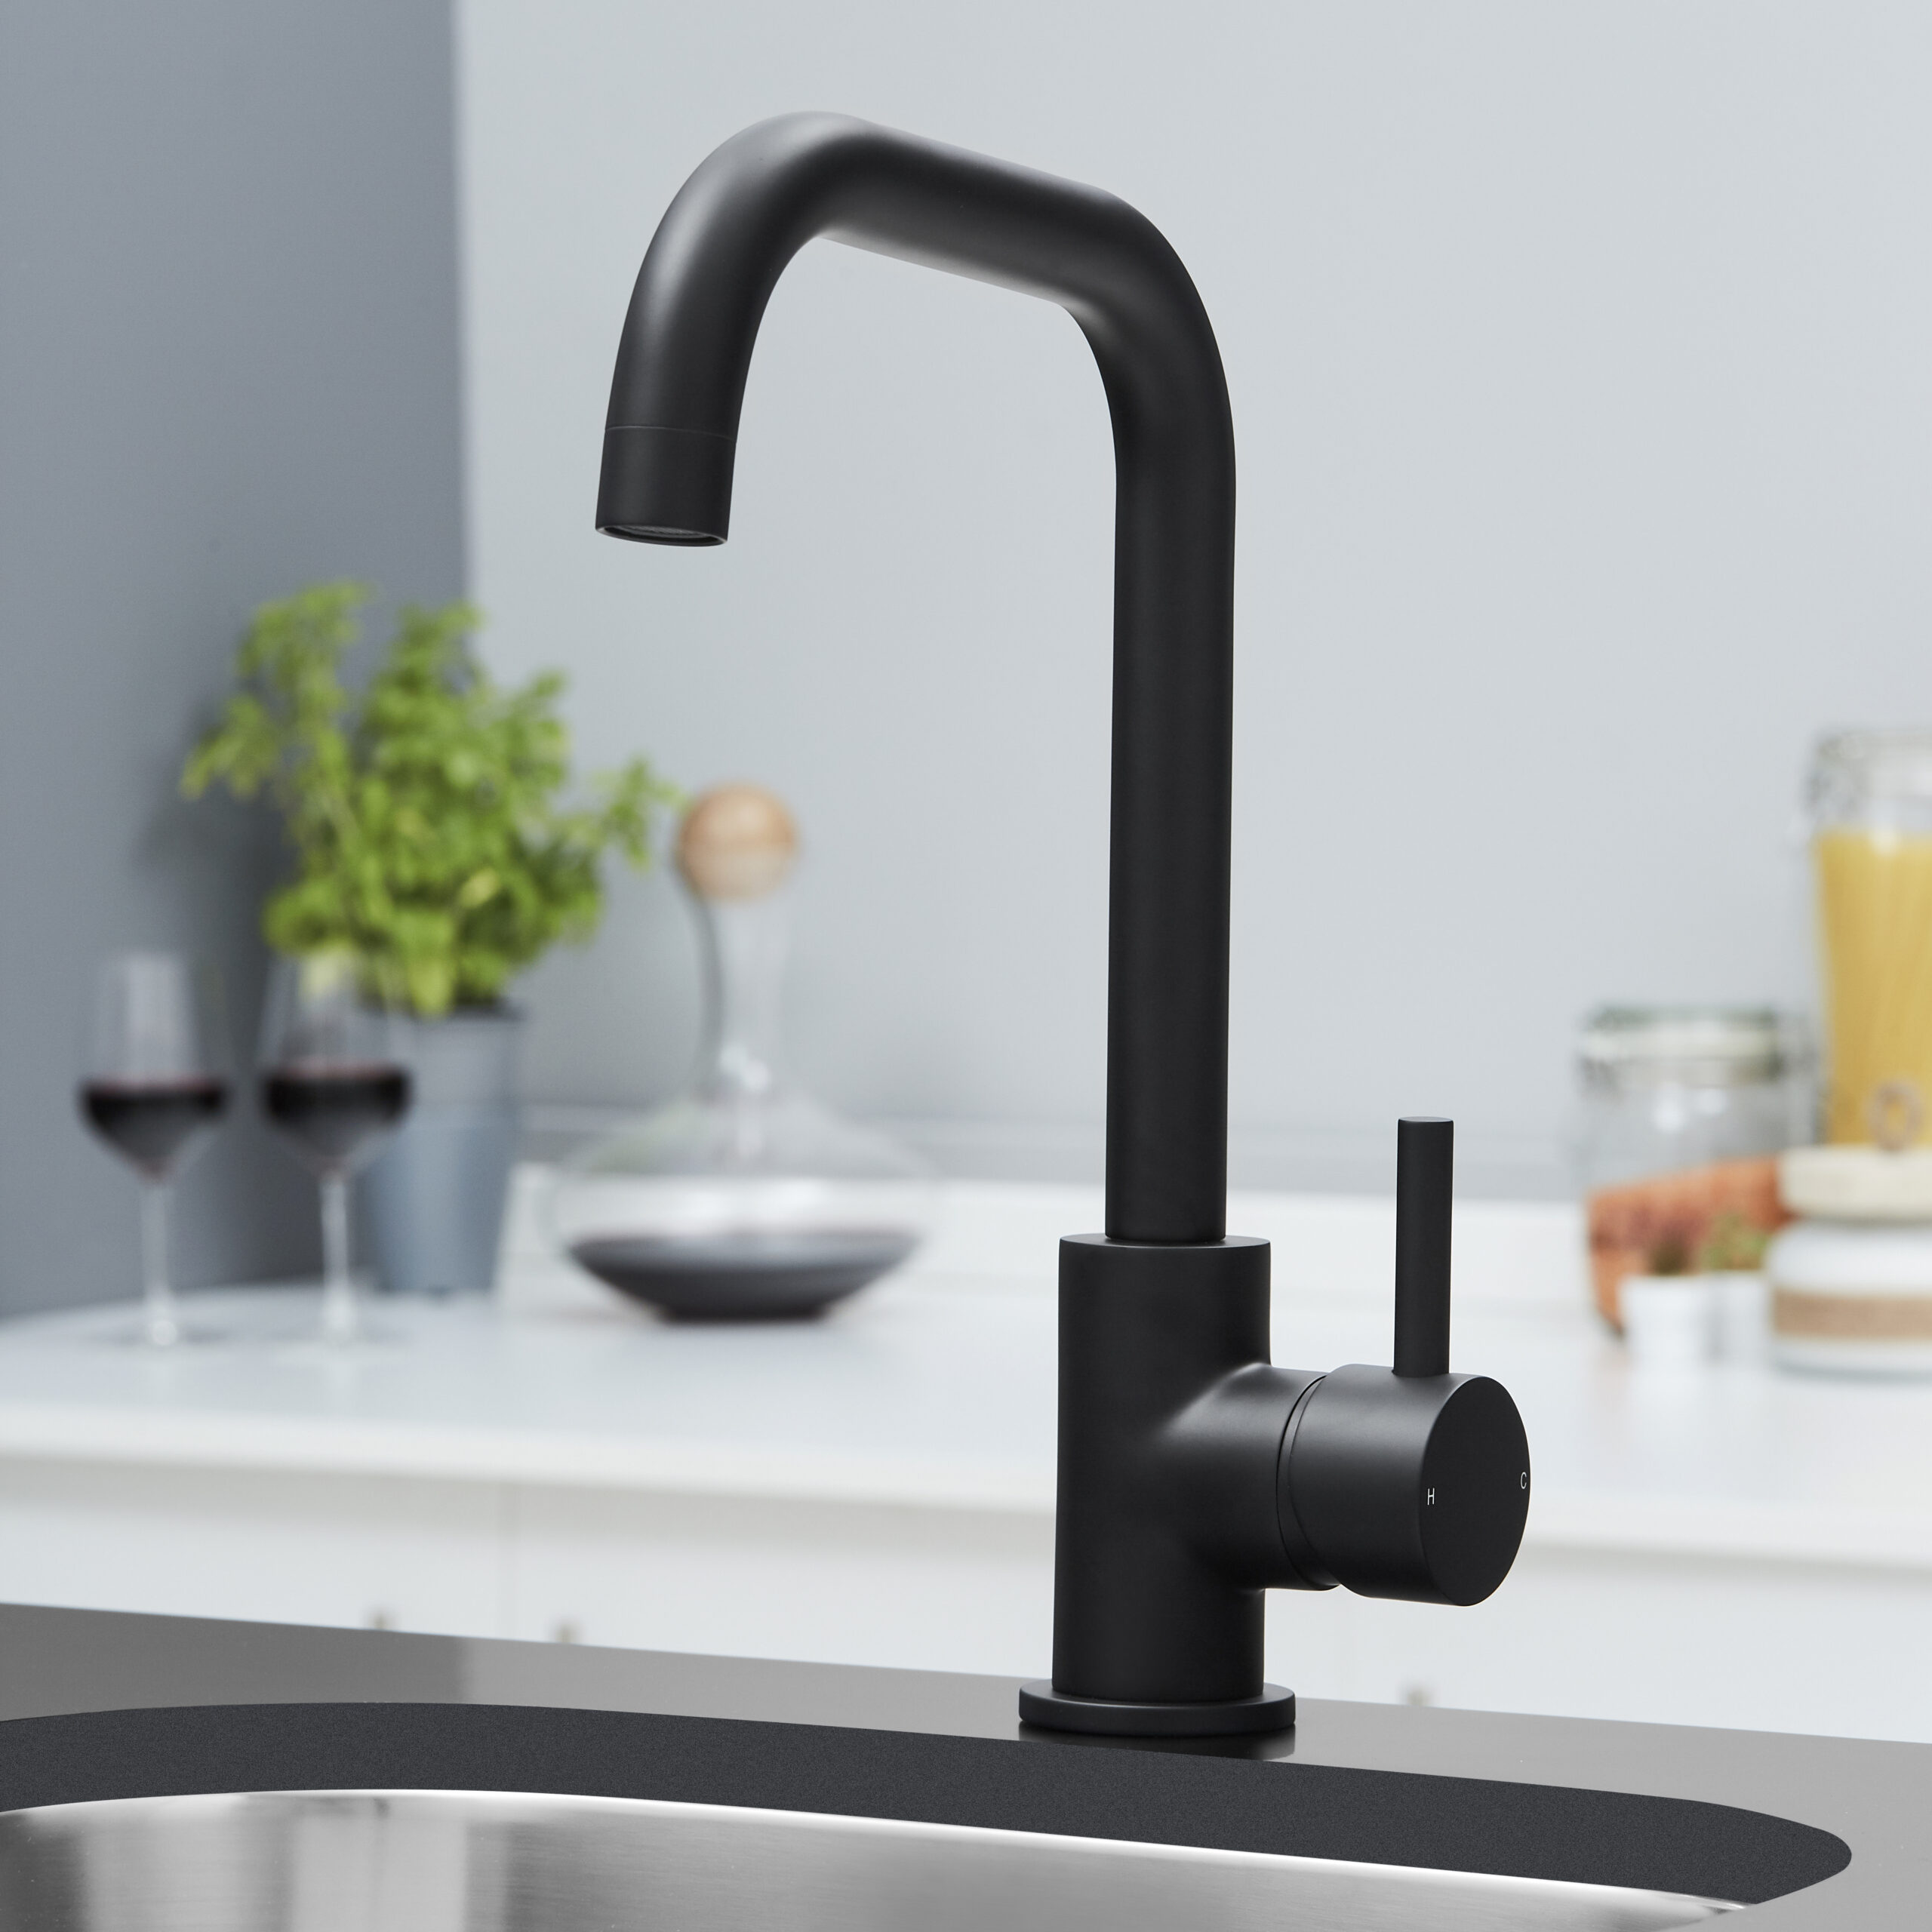
Matte Black
For a bold, contemporary statement, matte black taps are an increasingly popular choice. They work particularly well in industrial, minimalist, or monochrome kitchens. This finish resists fingerprints but may show watermarks if not cleaned regularly. A matte black tap set against a white or marble worktop can create a striking contrast.
Gold and Brass Finishes
Brass or gold taps add a touch of luxury to the kitchen and work beautifully in vintage, classic, or high-end kitchen designs. A brushed brass finish offers a softer, more versatile look compared to polished gold. Pairing brass taps with warm-toned cabinets or marble countertops can create a dramatic, sophisticated aesthetic.
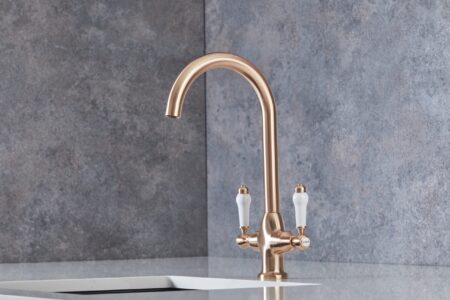
Copper
Copper taps have a warm, rustic charm that suits farmhouse or industrial-style kitchens. However, they require regular upkeep to maintain their appearance, as they naturally develop a patina over time. If you appreciate a lived-in, evolving look, copper might be the perfect choice.
2. Matching Tap Finishes with Your Kitchen Style
When selecting a tap finish, consider how it complements your kitchen’s overall design and color scheme.
Modern and Minimalist Kitchens
For sleek, contemporary kitchens with clean lines and neutral tones, polished chrome, matte black, or stainless steel taps work best. These finishes enhance modern cabinetry and high-gloss surfaces. If your kitchen features handleless cupboards and a minimalist design, a sleek chrome or matte black tap will fit seamlessly.
Country and Traditional Kitchens
Brushed nickel, brass, or copper taps complement classic shaker-style cabinets, wooden countertops, and farmhouse sinks beautifully. These finishes add warmth and character to traditional kitchens. A copper tap with vintage-inspired handles is an excellent choice for a charming, rustic feel.
Industrial-Style Kitchens
Industrial kitchens pair well with bold, raw finishes like matte black, stainless steel, or copper. These finishes highlight exposed brickwork, metal accents, and the darker tones typically found in industrial designs. A matte black or gunmetal tap against a concrete worktop can create a dramatic effect.
Scandinavian and Minimalist Kitchens
For a Nordic-inspired kitchen, go for subtle finishes like brushed nickel or matte black. These choices offer a sleek and understated elegance that complements light wood, white cabinetry, and minimalist décor. A matte black tap against a white subway-tiled backsplash can add just the right amount of contrast.
3. Practical Considerations When Choosing a Tap Finish
Beyond aesthetics, practical factors should also play a role in your decision.
Durability and Maintenance
Some finishes require more upkeep than others. If you prefer a low-maintenance option, brushed nickel and stainless steel are excellent choices as they hide water spots and fingerprints better than polished chrome or gold.
Compatibility with Other Fixtures
Your tap finish should coordinate with other kitchen elements, such as cabinet handles, light fixtures, and sinks. While mixing metals can work if done intentionally, a cohesive look is generally the safest bet.

Water Quality
Certain finishes, such as copper, can react with hard water, causing them to tarnish more quickly. If you live in a hard water area, opt for finishes that resist mineral buildup, like stainless steel or brushed nickel.
Budget
High-end finishes like brass and gold tend to be more expensive, while stainless steel and chrome are often more budget-friendly. However, investing in a high-quality tap ensures durability and longevity. Consider how long you want your tap to last and whether it’s worth spending a little extra for a standout finish.
4. Final Tips for Selecting the Right Tap Finish
- Consider your kitchen’s colour scheme: Choose a finish that complements your cabinets, countertops, and overall décor.
- Think about your lifestyle: If you have a busy household, go for a finish that resists fingerprints and stains.
- Coordinate with other fixtures: Ensure your tap finish works well with your sink, handles, and other metallic elements.
- Test samples if possible: Some retailers offer sample swatches, allowing you to see how the finish looks in your kitchen lighting.
- Look for inspiration: Browse interior design blogs, Pinterest, or Instagram to see how different finishes look in real homes.
Conclusion
Choosing the right tap finish is an essential step in creating a cohesive kitchen design. Whether you’re drawn to the timeless appeal of chrome, the warmth of brass, or the boldness of matte black, selecting a finish that aligns with your kitchen’s style and practical needs will enhance both its appearance and functionality. By considering factors like durability, maintenance, and overall aesthetics, you can confidently choose the perfect tap finish to complete your kitchen.
With 2025 on the horizon, kitchen design is evolving, seamlessly blending functionality, aesthetics, and sustainability. Homeowners are looking for spaces that not only look beautiful but also enhance efficiency and well-being. From smart technology to eco-conscious choices, here are the top kitchen trends set to take centre stage in 2025.
1. Intelligent and Sustainable Kitchens
Sustainability continues to be a driving force in modern kitchen design. Homeowners are increasingly focused on reducing their environmental footprint while creating stylish, functional spaces. According to a 2024 report from the Kitchen & Bath Industry Show (KBIS), demand for eco-friendly kitchen solutions has surged in the past two years.
Expect a rise in energy-efficient appliances, recycled materials, and water-saving fixtures. Smart kitchens are also becoming more intuitive, with AI-powered appliances that adapt to user behaviour and automate daily tasks. Imagine a refrigerator that suggests recipes based on its contents or a dishwasher that optimises water usage based on load size. These innovations make life more convenient while reducing waste.
2. Contemporary Finishes
Adventurous finishes have emerged as a powerful way to elevate kitchen aesthetics. No longer just functional hardware, today’s finishes are designed to complement modern cabinetry and countertops, adding a refined edge to the overall decor. In 2025, expect to see a variety of finishes—from sleek matt black to brushed copper.
These contemporary finishes not only enhance visual appeal but also offer practical benefits, such as improved durability, resistance to fingerprints, and easier cleaning. Designers are choosing finishes that harmonise with natural textures and bold colour palettes, ensuring that every element of the kitchen contributes to a cohesive design narrative.
3. Bold Colours and Natural Textures
The era of all-white kitchens is fading as 2025 welcomes bold colour choices and natural textures. Deep greens, rich blues, and warm terracotta tones are gaining popularity, adding character and warmth to kitchen spaces.
Natural materials such as wood, stone, and rattan are also making a strong comeback. These elements introduce depth and texture, creating a cosy yet refined aesthetic. Pairing matte finishes with raw, organic surfaces enhances the overall design, striking the perfect balance between modernity and nature.
4. Multi-Functional Kitchen Spaces
With more people working from home and entertaining in their kitchens, the demand for multi-functional spaces is increasing. Kitchen islands are no longer just for meal prep—they now serve as dining tables, workstations, and social hubs.
Hidden storage solutions, such as pull-out pantries and integrated appliances, help maximise space while maintaining a sleek look. Seating areas within the kitchen encourage casual dining and foster a welcoming atmosphere. As homes continue to evolve, expect kitchen designs to focus on flexibility and adaptability.
5. Luxury Finishes and Statement Lighting
In 2025, high-end kitchen design will be defined by luxurious finishes and dramatic lighting solutions. Expect to see an increased use of brass and brushed gold hardware, marble countertops, and custom cabinetry that exudes sophistication.
Statement lighting will also play a key role, with oversized pendant lights, under-cabinet LED strips, and sculptural fixtures becoming major focal points. A well-lit kitchen is not only practical—it enhances the ambiance and highlights key design elements.
6. Integrated and Hidden Appliances
Seamless design remains a major theme in modern kitchens, with homeowners opting for integrated appliances that blend effortlessly into cabinetry. Built-in ovens, concealed fridge-freezers, and hidden dishwashers contribute to a clean and cohesive aesthetic.
This trend extends to kitchen ventilation as well, with downdraft extractors and discreet range hoods replacing bulky overhead models. The result is a minimalist, streamlined look that keeps the focus on design rather than appliances.
Final Thoughts
As we move into 2025, kitchen design is embracing the perfect combination of style, innovation, and sustainability. From boiling water taps to bold colour palettes, these trends offer both aesthetic appeal and practical benefits.
Whether you're planning a full-scale renovation or a simple refresh, incorporating these elements will ensure your kitchen stays ahead of the curve. Which of these trends are you most excited about? Share your kitchen makeover plans with us!
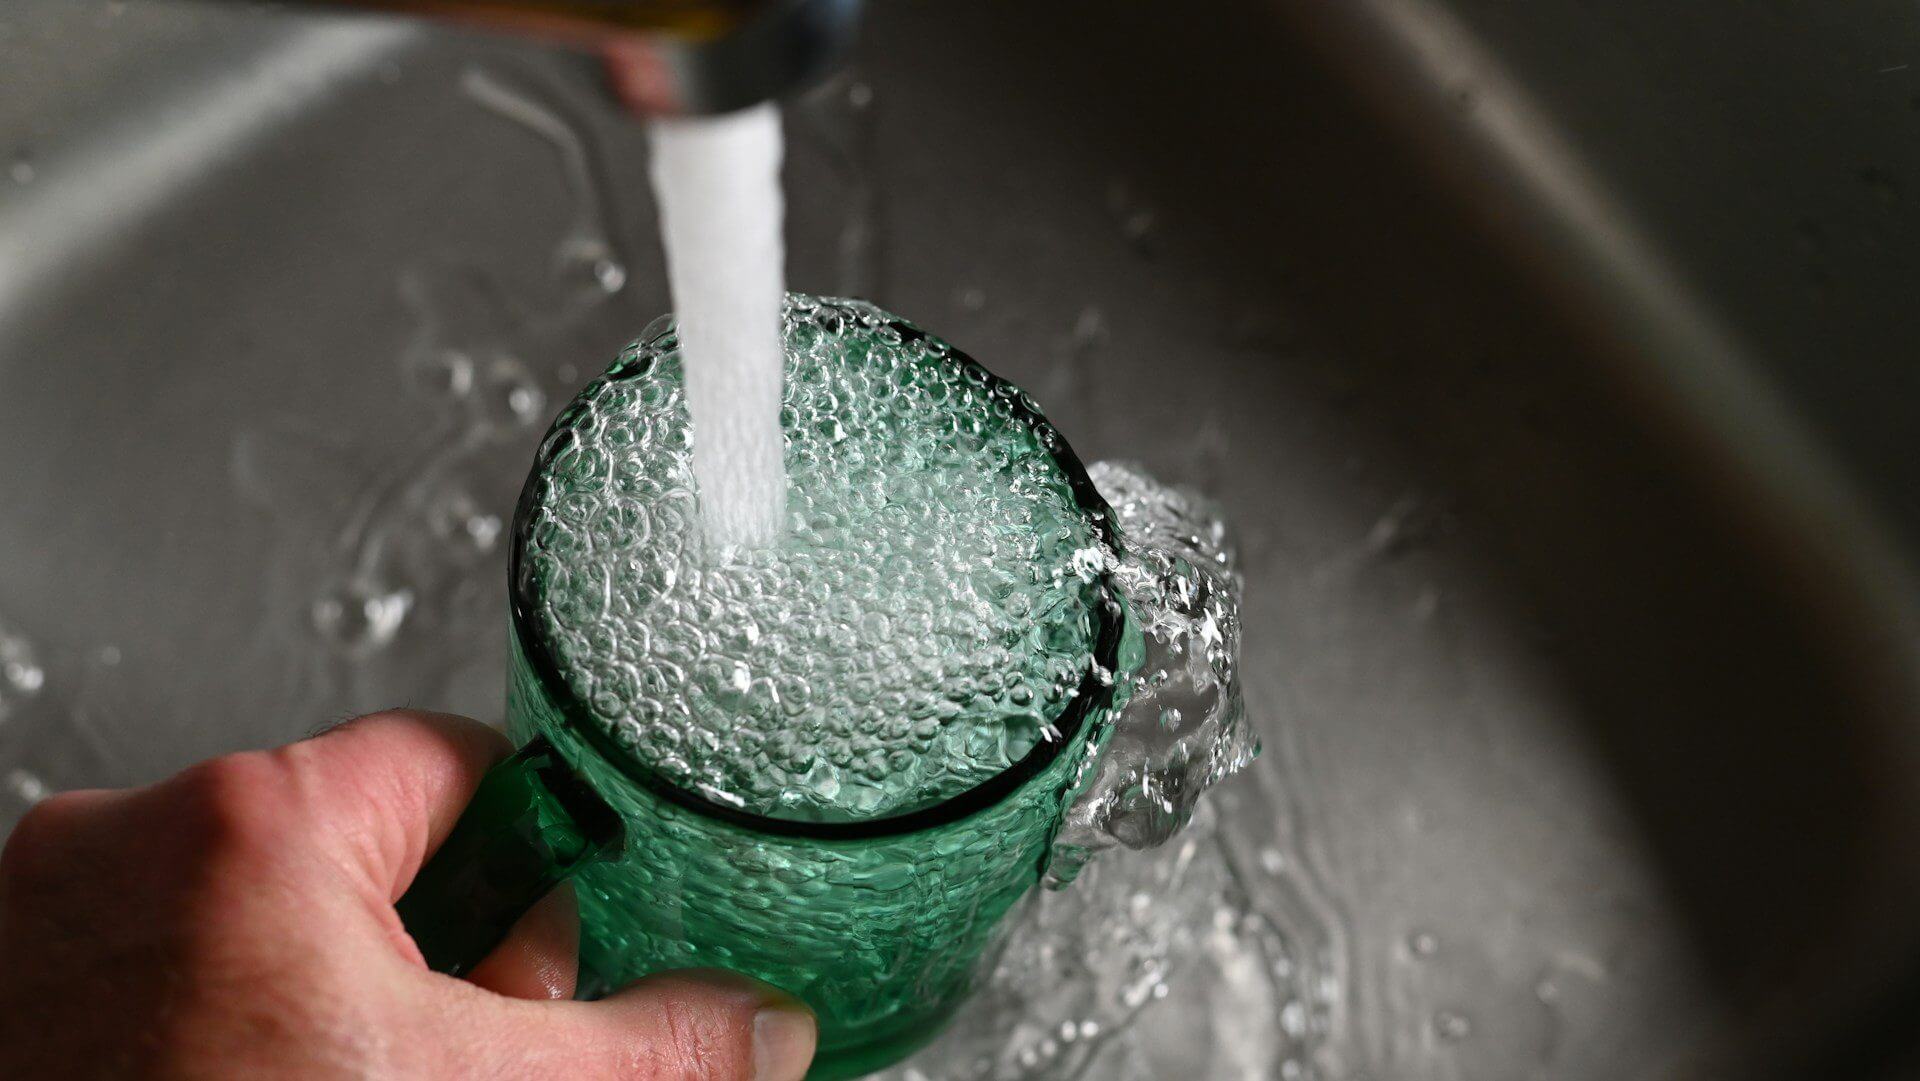
The question of whether UK tap water is safe to drink often comes up, especially among visitors or those thinking about switching from bottled water. Thankfully, the UK maintains some of the highest water quality standards globally, ensuring that tap water is not just safe but often better than bottled alternatives.
UK Tap Water: Stringent Regulation and Exceptional Quality
Tap water in the UK is strictly regulated by the Drinking Water Inspectorate (DWI) and must comply with the Water Supply (Water Quality) Regulations 2016. These regulations ensure that water suppliers provide clean and safe drinking water by monitoring levels of bacteria, chemicals, and other potential contaminants.
The UK’s water supply undergoes daily testing for substances like chlorine, lead, nitrates, and bacteria such as E. coli. The results, which are publicly available, consistently show that UK tap water meets or even exceeds safety standards.
How Safe Is Tap Water Across the UK?
While tap water across the UK is generally safe to drink, its characteristics can vary slightly depending on location:
- England & Wales – Water quality is carefully monitored, with most tap water being soft to moderately hard depending on the region.
- Scotland – Known for its soft water, Scotland sources its tap water from lochs and reservoirs, with regular testing to ensure quality.
- Northern Ireland – Water quality here is high, just like in the rest of the UK, though some areas may experience a slightly different taste due to local water sources.
Why Does Tap Water Taste Different in Some Areas?
The taste of tap water depends on factors like mineral content, treatment methods, and whether the source is surface water or groundwater. Hard water areas, such as London and the South East, contain higher levels of calcium and magnesium, which can affect taste but are completely safe to consume.
Is Tap Water Better Than Bottled Water?
Many people assume bottled water is healthier, but UK tap water often surpasses bottled water in safety standards. Bottled water is subject to less strict regulations and may contain microplastics from packaging. Additionally, tap water is the more eco-friendly choice, reducing plastic waste and the carbon footprint associated with bottled water production and transport.
When Should You Take Extra Precautions?
Although UK tap water is safe for most people, there are a few situations where you might need to take additional precautions:
- Old Lead Pipes – If your home has lead pipes (common in properties built before the 1970s), consider using a water filter or replacing the pipes, as lead can seep into the water.
- After Plumbing Work – If you've recently had plumbing work done, it's advisable to run the tap for a few minutes before drinking.
- Boil Notices – In rare cases, water suppliers may issue a boil notice due to temporary contamination concerns. These are usually short-term and quickly resolved.
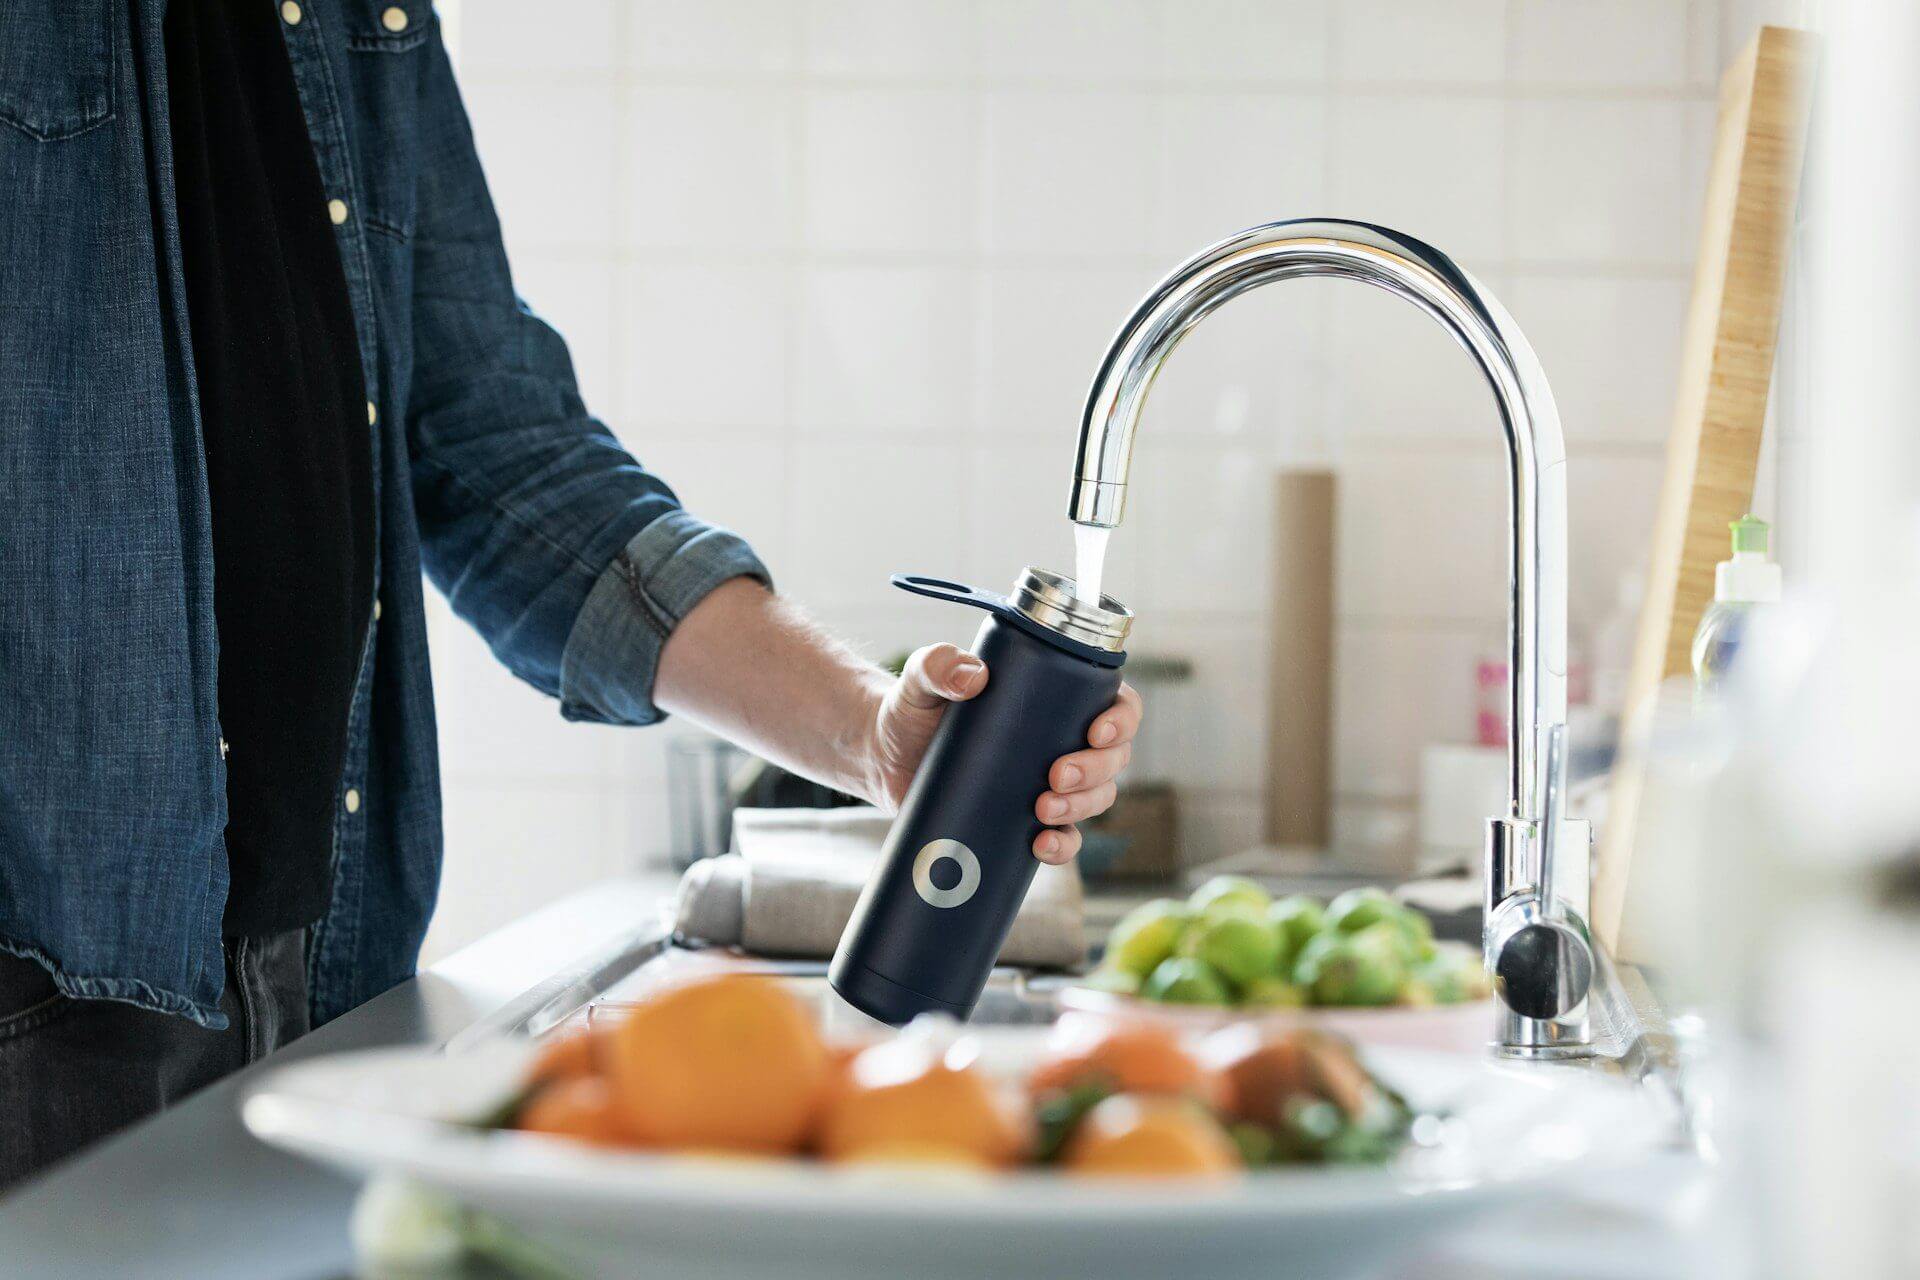
Ways to Improve Tap Water at Home
For those who prefer a different taste or extra filtration, here are some options:
- Tap Filters – Help remove chlorine and enhance taste.
- Boiling Water – A simple method to eliminate any lingering impurities.
- Filtered Taps – Systems like those from Ripple Taps provide convenient, high-quality filtered water straight from your kitchen tap.
Final Verdict: Is UK Tap Water Safe?
Yes, UK tap water is one of the safest and cleanest in the world. Thanks to strict regulations and routine testing, it offers a high-quality, budget-friendly, and environmentally conscious alternative to bottled water. If you're looking to further enhance your drinking experience, a filtered tap system can be a great addition for improved taste and convenience.
For more information on enhancing your home’s water quality, check out our blog.
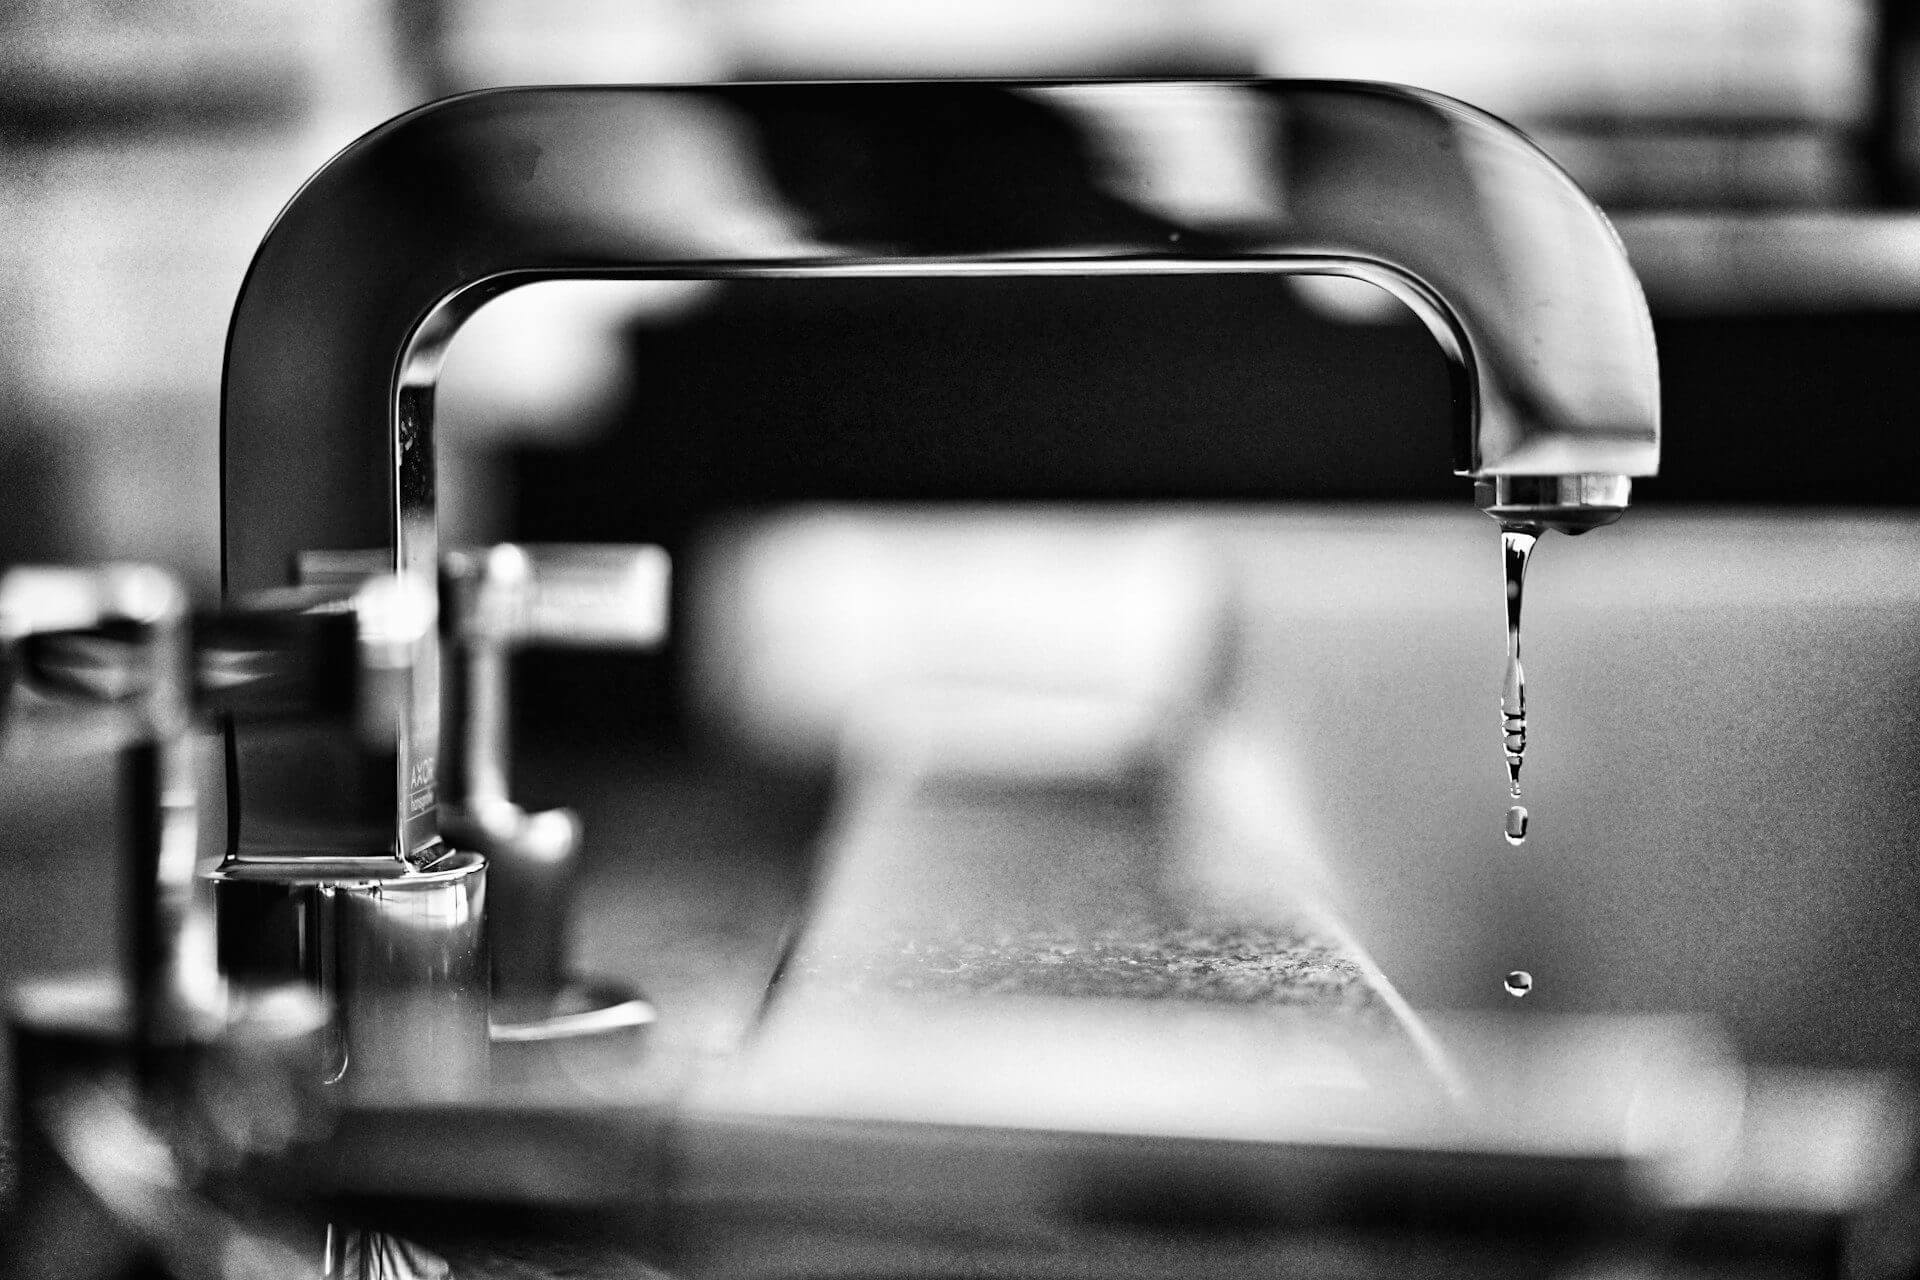
A dripping kitchen faucet isn’t just frustrating, but also wasteful and costly. It’s worth knowing how to repair a leaky tap, and you’ll be glad you did if it means avoiding a call to the plumber. This guide provides step-by-step instructions so you can tackle the repair with confidence.
Identifying the Cause of a Dripping Tap
Before you start fixing your tap, it’s important to figure out why it’s leaking. Common causes include:
- Worn Washer – Traditional taps use washers to seal the valve seat. Over time, they wear out and cause leaks.
- Damaged O-Ring – A small rubber O-ring helps seal the tap, but if it gets damaged, water may leak near the handle.
- Faulty Cartridge – Many modern mixer taps use ceramic cartridges, which, if damaged, can lead to dripping.
Pinpointing the exact cause will help you choose the right fix.
Tools and Materials You’ll Need
To repair a leaky kitchen faucet, gather the following:
- Adjustable Spanner – To tighten and loosen nuts.
- Screwdrivers – Both Phillips and flat-head, depending on your tap’s screws.
- Allen Keys – Needed for taps with hex screws.
- Replacement Parts – Washers, O-rings, or cartridges specific to your faucet.
- Plumber’s Grease – To lubricate parts during reassembly.
- Cloth or Towel – To protect surfaces and clean up spills.
- Bowl – To catch any remaining water when you disassemble the tap.
Step-by-Step Guide to Fixing a Leaky Tap
1. Turn Off the Water
Before starting, turn off the water supply to the tap. Look for the isolation valves under the sink and turn them clockwise. If your system doesn’t have local isolation valves, you may need to turn off the main water supply.
2. Drain Any Remaining Water
Turn on the tap to let out any leftover water. This helps prevent spills during the repair.
3. Identify Your Tap Type
It’s important to know what kind of tap you’re dealing with:
- Compression Taps – Require multiple turns to open or close and typically have separate hot and cold handles.
- Ceramic Disc Taps – Operate with a quarter or half turn and use a ceramic cartridge.
- Ball-Type or Cartridge Taps – Common in mixer taps, using a movable ball or cartridge to control water flow and temperature.
4. Disassemble the Tap
- Remove the Decorative Cap – Use a flat-head screwdriver to carefully pry off any decorative caps.
- Unscrew the Handle – Find the screw beneath the cap (it may require a Phillips screwdriver or an Allen key) and remove the handle.
- Detach the Tap Body – Use an adjustable spanner to loosen and remove the tap body, exposing the internal components.
5. Inspect and Replace Faulty Parts
- For Compression Taps – Check the washer at the base of the valve. If it’s worn or damaged, replace it.
- For Ceramic Disc Taps – Examine the ceramic cartridge. If it’s faulty, swap it for a new one.
- O-Rings – Inspect them for signs of wear and replace them if needed.
Make sure you use compatible replacement parts. A local hardware store or plumbing specialist can help you find the right ones.
6. Reassemble the Tap
Once you’ve replaced the faulty components:
- Lubricate Moving Parts – Apply plumber’s grease to ensure smooth operation.
- Reassemble in Reverse Order – Carefully put the tap back together, making sure everything is aligned and tightened properly.
7. Restore the Water Supply and Test
Now that the tap is reassembled:
- Turn the Water Supply Back On – Open the isolation valves or the main water supply.
- Test the Tap – Turn it on to check for leaks and make sure it’s working properly.
Preventing Future Leaks
To extend your tap’s lifespan and avoid leaks:
- Regular Maintenance – Check and replace worn parts periodically.
- Avoid Overtightening – Excessive force can damage internal components.
- Use a Water Softener – In areas with hard water, installing a softener can help reduce mineral buildup that causes wear.
When to Call a Professional
While many tap repairs are simple, some situations require expert help:
- Persistent Leaks – If the tap keeps dripping even after replacing parts.
- Complex Tap Mechanisms – Some modern taps have intricate designs that need specialised tools.
- Unclear Diagnosis – If you can’t figure out what’s causing the leak.
A professional plumber can quickly diagnose and fix more complicated issues.

FAQs
Q1: Why is my tap still dripping after replacing the washer?
If your tap continues to drip, other parts like the valve seat, O-ring, or cartridge may be causing the issue. Inspect them to find the root cause.
Q2: Can a dripping tap increase my water bill?
Yes! A constantly leaking tap can waste a lot of water over time, leading to higher utility bills.
Q3: How often should tap washers be replaced?
The lifespan of a tap washer depends on water quality and usage. It’s a good idea to check them regularly and replace them as needed.
Q4: Are ceramic disc taps better than traditional ones?
Ceramic disc taps tend to be more durable and less prone to leaks than traditional taps.