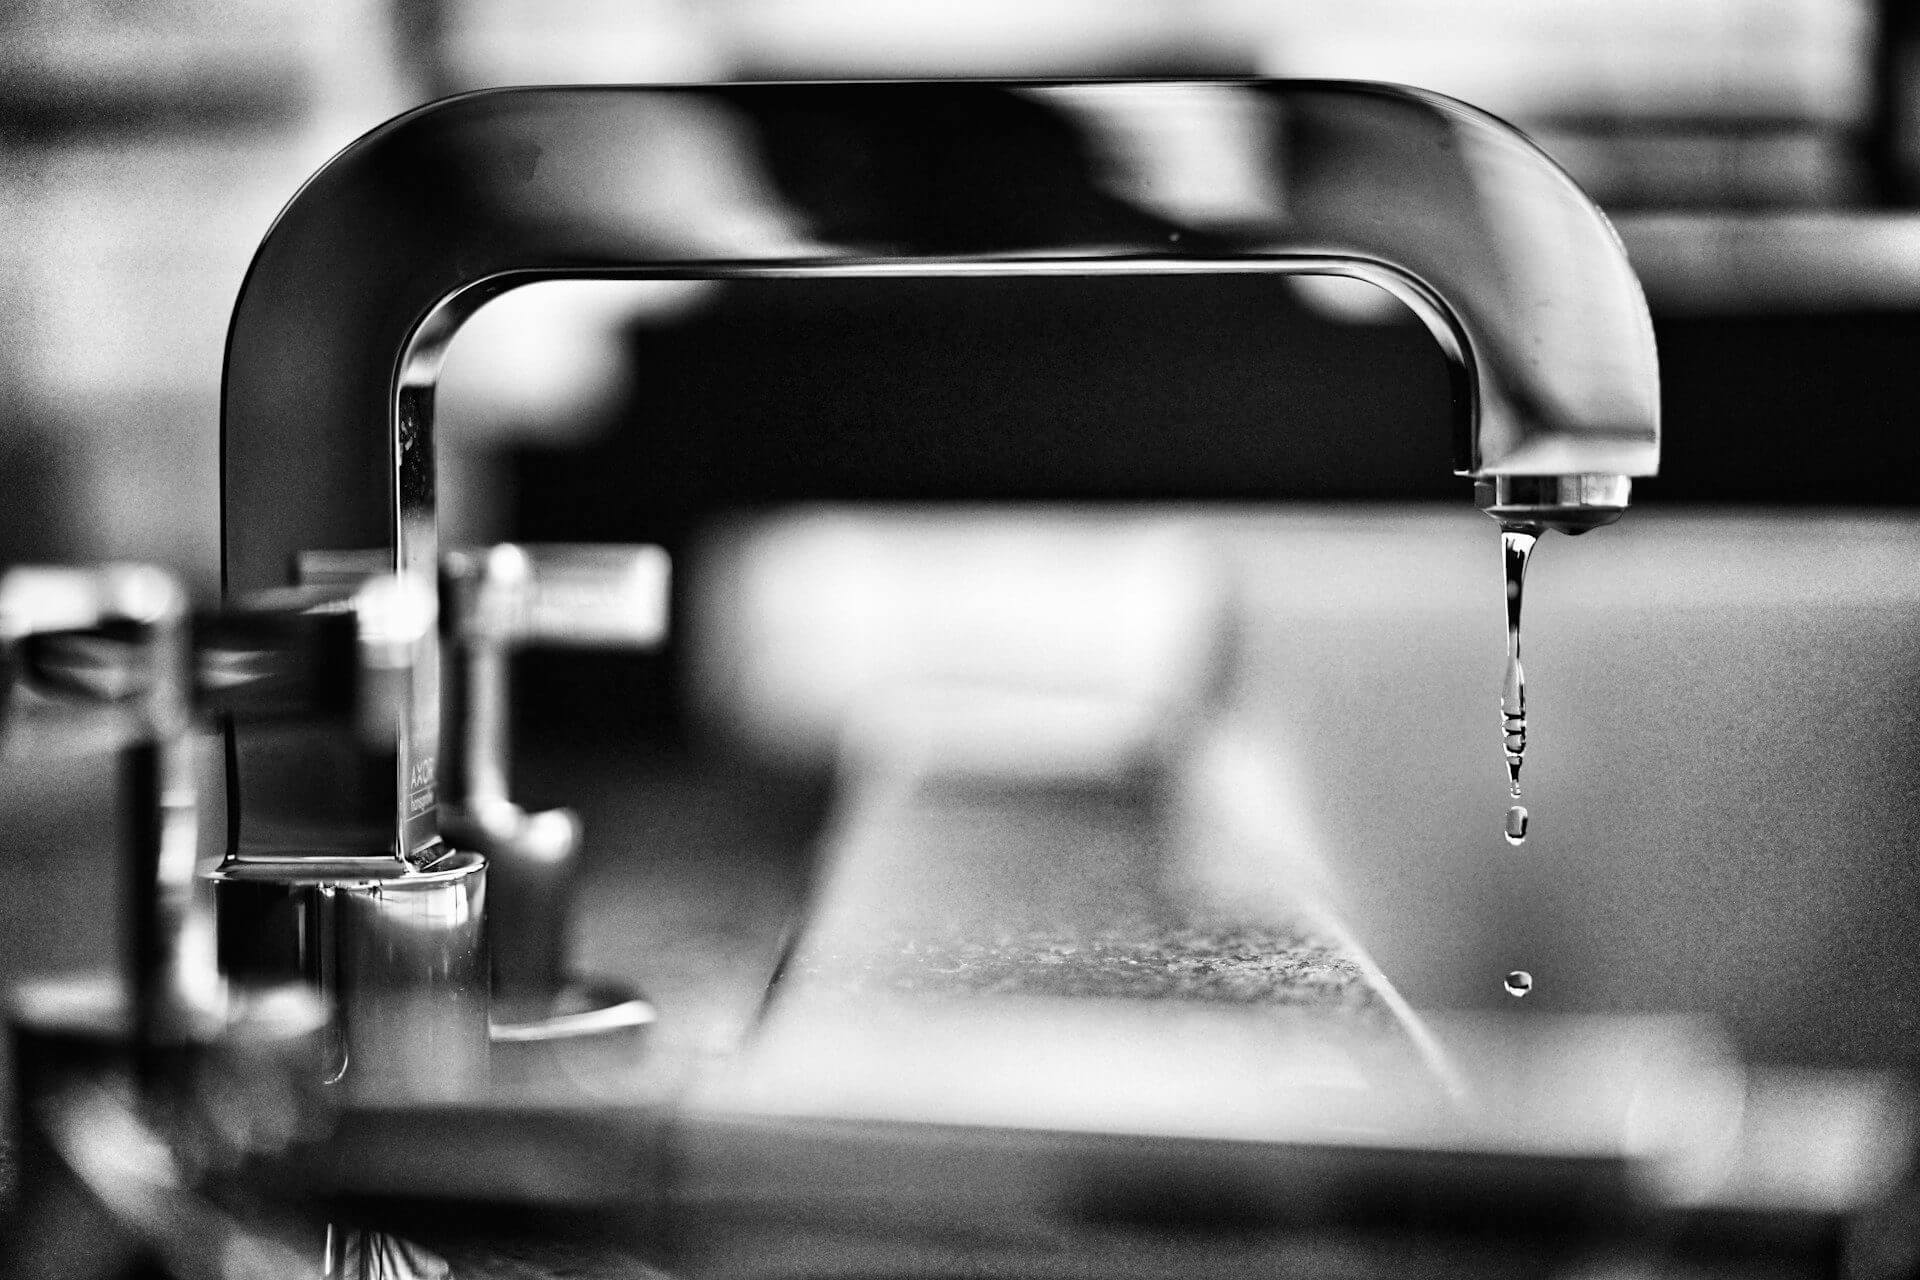
Dripping Tap? A Step-by-Step Guide to Fix It

A dripping kitchen faucet isn’t just frustrating, but also wasteful and costly. It’s worth knowing how to repair a leaky tap, and you’ll be glad you did if it means avoiding a call to the plumber. This guide provides step-by-step instructions so you can tackle the repair with confidence.
Identifying the Cause of a Dripping Tap
Before you start fixing your tap, it’s important to figure out why it’s leaking. Common causes include:
- Worn Washer – Traditional taps use washers to seal the valve seat. Over time, they wear out and cause leaks.
- Damaged O-Ring – A small rubber O-ring helps seal the tap, but if it gets damaged, water may leak near the handle.
- Faulty Cartridge – Many modern mixer taps use ceramic cartridges, which, if damaged, can lead to dripping.
Pinpointing the exact cause will help you choose the right fix.
Tools and Materials You’ll Need
To repair a leaky kitchen faucet, gather the following:
- Adjustable Spanner – To tighten and loosen nuts.
- Screwdrivers – Both Phillips and flat-head, depending on your tap’s screws.
- Allen Keys – Needed for taps with hex screws.
- Replacement Parts – Washers, O-rings, or cartridges specific to your faucet.
- Plumber’s Grease – To lubricate parts during reassembly.
- Cloth or Towel – To protect surfaces and clean up spills.
- Bowl – To catch any remaining water when you disassemble the tap.
Step-by-Step Guide to Fixing a Leaky Tap
1. Turn Off the Water
Before starting, turn off the water supply to the tap. Look for the isolation valves under the sink and turn them clockwise. If your system doesn’t have local isolation valves, you may need to turn off the main water supply.
2. Drain Any Remaining Water
Turn on the tap to let out any leftover water. This helps prevent spills during the repair.
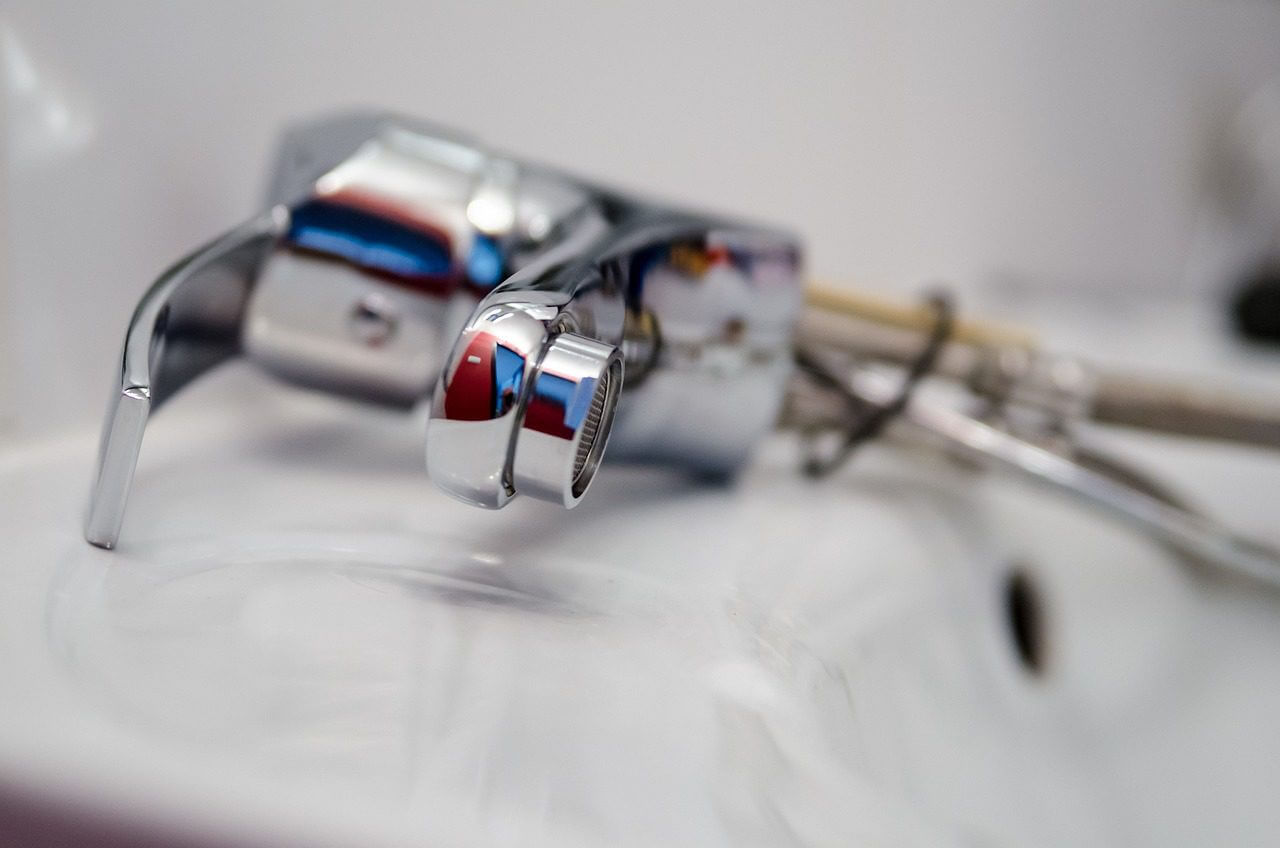
3. Identify Your Tap Type
It’s important to know what kind of tap you’re dealing with:
- Compression Taps – Require multiple turns to open or close and typically have separate hot and cold handles.
- Ceramic Disc Taps – Operate with a quarter or half turn and use a ceramic cartridge.
- Ball-Type or Cartridge Taps – Common in mixer taps, using a movable ball or cartridge to control water flow and temperature.
4. Disassemble the Tap
- Remove the Decorative Cap – Use a flat-head screwdriver to carefully pry off any decorative caps.
- Unscrew the Handle – Find the screw beneath the cap (it may require a Phillips screwdriver or an Allen key) and remove the handle.
- Detach the Tap Body – Use an adjustable spanner to loosen and remove the tap body, exposing the internal components.
5. Inspect and Replace Faulty Parts
- For Compression Taps – Check the washer at the base of the valve. If it’s worn or damaged, replace it.
- For Ceramic Disc Taps – Examine the ceramic cartridge. If it’s faulty, swap it for a new one.
- O-Rings – Inspect them for signs of wear and replace them if needed.
Make sure you use compatible replacement parts. A local hardware store or plumbing specialist can help you find the right ones.
6. Reassemble the Tap
Once you’ve replaced the faulty components:
- Lubricate Moving Parts – Apply plumber’s grease to ensure smooth operation.
- Reassemble in Reverse Order – Carefully put the tap back together, making sure everything is aligned and tightened properly.
7. Restore the Water Supply and Test
Now that the tap is reassembled:
- Turn the Water Supply Back On – Open the isolation valves or the main water supply.
- Test the Tap – Turn it on to check for leaks and make sure it’s working properly.
Preventing Future Leaks
To extend your tap’s lifespan and avoid leaks:
- Regular Maintenance – Check and replace worn parts periodically.
- Avoid Overtightening – Excessive force can damage internal components.
- Use a Water Softener – In areas with hard water, installing a softener can help reduce mineral buildup that causes wear.
When to Call a Professional
While many tap repairs are simple, some situations require expert help:
- Persistent Leaks – If the tap keeps dripping even after replacing parts.
- Complex Tap Mechanisms – Some modern taps have intricate designs that need specialised tools.
- Unclear Diagnosis – If you can’t figure out what’s causing the leak.
A professional plumber can quickly diagnose and fix more complicated issues.

FAQs
Q1: Why is my tap still dripping after replacing the washer?
If your tap continues to drip, other parts like the valve seat, O-ring, or cartridge may be causing the issue. Inspect them to find the root cause.
Q2: Can a dripping tap increase my water bill?
Yes! A constantly leaking tap can waste a lot of water over time, leading to higher utility bills.
Q3: How often should tap washers be replaced?
The lifespan of a tap washer depends on water quality and usage. It’s a good idea to check them regularly and replace them as needed.
Q4: Are ceramic disc taps better than traditional ones?
Ceramic disc taps tend to be more durable and less prone to leaks than traditional taps.